The first time I flipped my mower to change the blades, I hovered nervously, half expecting the disc to spring to life. It did not, because I had powered it off properly, and that is really the whole game here. Swapping blades is one of the simplest jobs you will do, maybe ten minutes start to finish, but it involves small sharp edges spinning near your fingers, so the order of steps matters. Get the safety part right and the rest is just loosening a few screws. Here is exactly how I do it, in the sequence that keeps every finger accounted for.
Power Down and Lock the Machine First
Before anything touches the underside, kill the power completely. Do not just tap stop; use the main power switch or the app command that fully shuts the motor down, and engage the PIN lock if your model has one. This is the single step that separates a five-minute chore from an injury. On many machines a green light or app status confirms the blades are disabled. Pull the mower off its charging base too, so it cannot draw power or restart mid-job. Only once you are certain it is dead should you go further. Treat every blade as sharp, because a fresh one certainly is.
For the bigger picture, our main guide Robot Mower Maintenance: The Complete Guide sets the scene.
Gather Your Tools and a Fresh Blade Set
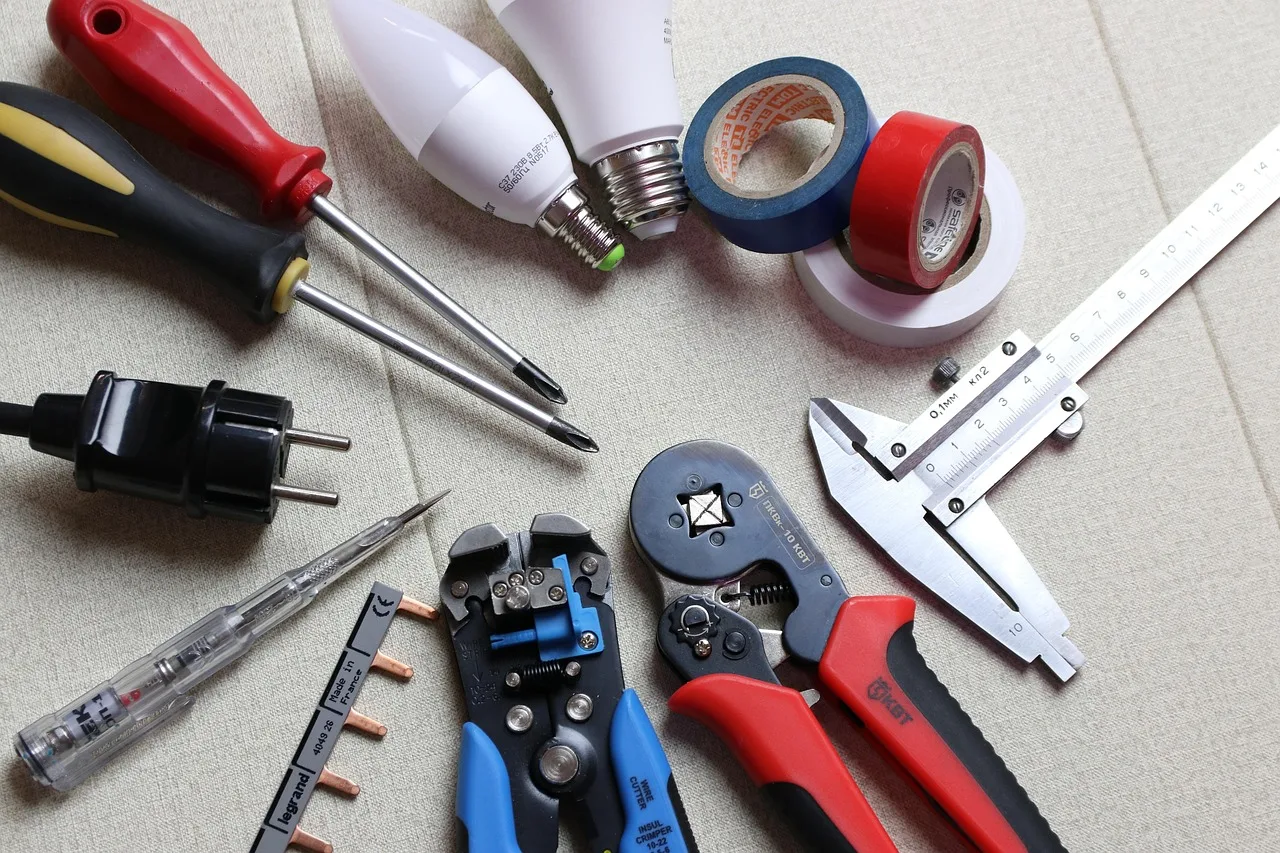
Lay out what you need before you flip the mower, so you are not hunting for a screwdriver with the deck exposed. You will want the correct blade set for your exact model, the matching screwdriver or torx bit (often supplied in the box), a pair of protective gloves, and a rag. Buy blades that match the manufacturer spec rather than generic look-alikes, since balance and mounting matter. A set runs from a few dollars up to about $15-$30. Having the new blades and screws laid out in order turns the swap into a smooth, confident routine rather than a fumble.
Flip the Mower and Inspect the Underside
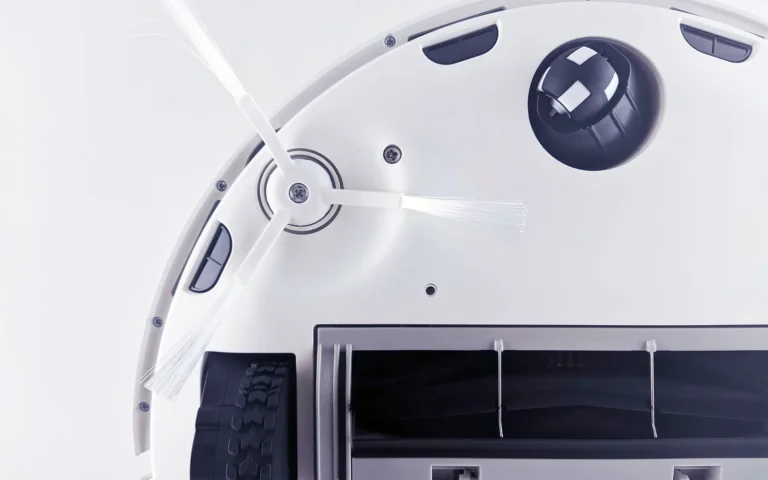
Turn the machine upside down on a soft surface, like a folded towel or a patch of grass, to protect the shell and sensors. Now you can see the layout: either three small razor blades on a spinning plate or a single star-shaped disc. Take a moment to clear packed grass and mud from around the disc with a plastic scraper, since debris hides screws and throws off balance. Snap a quick phone photo of how everything sits before you remove a thing. That picture is a lifesaver when you are reassembling and second-guessing which way a blade should face.
Remove the Old Blades Carefully
With gloves on, unscrew each blade or lift the disc according to your manual. On razor-style setups, each blade is usually held by one small screw; keep those screws in a dish so none roll into the grass. Inspect each old blade as it comes off. Chips, bent tips, and a dull edge all confirm the swap was overdue. Replace the little screws or pins too if the manufacturer recommends it, because worn fixings can let a blade wobble loose. Never reuse a blade that looks fine on one side but is chewed on the other, since an unbalanced disc vibrates and stresses the motor.
Blade Replacement Checklist
- Fully power off the mower and engage the PIN lock
- Remove the machine from its charging base
- Put on protective gloves before touching the underside
- Lay out the correct blade set, screws, and screwdriver
- Flip the mower onto a towel to protect the shell
- Photograph the blade layout before removing anything
- Scrape packed grass away from the blade disc
- Unscrew old blades and keep the screws in a dish
- Fit new blades in the same orientation, swinging freely
- Tighten screws snug without stripping the threads
- Run a short test cut and check for clean tips
- Log the swap date and dispose of old blades safely
This connects neatly with Robot Mower Battery Care and Longevity.
Fit the New Blades and Torque Them Right
Mount the fresh blades in the same orientation as the old ones, using your photo as a reference. Each razor blade should swing freely on its screw, not sit rigid, because that pivot is a safety feature that lets a blade fold back on impact. Tighten each screw snug but not overtightened; stripping the thread is a common rookie mistake. If your model uses a star disc, seat it fully and secure the central bolt to the spec in the manual. Give each blade a gentle flick to confirm it pivots and nothing catches. Even, freely swinging blades are the sign of a clean install.

For broader background, general lawn mower mechanics is a solid reference.
Test, Log the Date, and Dispose Safely
Flip the mower back over, return it to the base, and power it up. Run a short test cycle on the lawn and watch the first pass. The cut should look crisp, with clean-sliced tips rather than torn, frayed ones. Log the date of the swap in the app or a notebook so you know when the next change is due, roughly 6-8 weeks out. Old blades are small but genuinely sharp, so wrap them in tape or drop them in a rigid container before binning them, keeping them away from bare hands and curious kids. Then enjoy the sharper cut.
What to do next
Swapping blades sounds intimidating the first time and turns routine by the second. The safety sequence is what matters: power down fully, lock the machine, glove up, and only then reach underneath. Everything after that is a few small screws and a test spin. Keep a spare set on the shelf, log each change, and you will never let dull blades drag your lawn into that ragged, torn-tip look. Ten minutes every couple of months buys you a crisp cut all season. Once you feel the confidence of a clean swap, you will wonder why you ever hesitated over such a tidy little job.
If you want to go deeper, our guide to The Real Cost of Robot Mower Maintenance covers the details.