The first time I flipped my mower over after a rainy week, I actually laughed out loud. A solid green crust of clippings had packed the whole underside, thick enough to scrape with a spoon. That gunk is not harmless. It bogs down the blade disc, throws off the cut, and makes the motor work harder than it should. Cleaning the underside is the single most useful ten-minute job you can do, yet almost nobody does it until something goes wrong. Here is the routine I follow, in order, so you can do it safely without nicking a finger or soaking the electronics.
Power Down and Engage the Safety Lock First
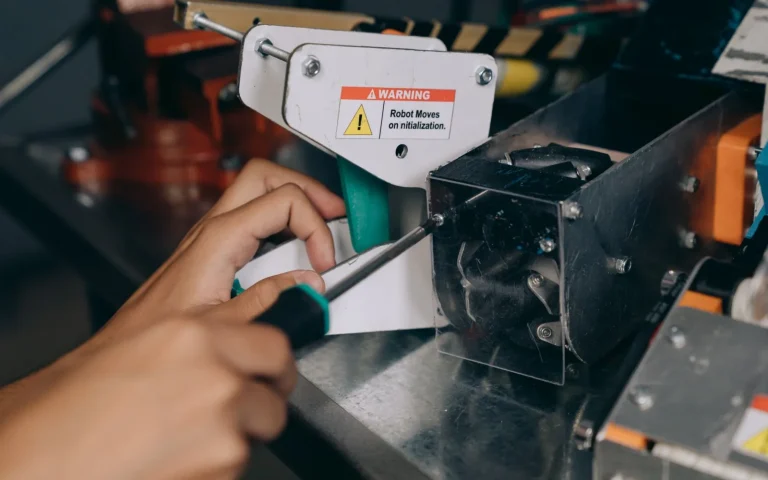
Before you touch anything, stop the mower and switch it off completely. Do not just pause it in the app. Most models have a physical power switch or a stop button under the hood, and many ask for a PIN to fully disable the blades. Use it. The razor blades on these machines spin fast and stay sharp, so a mower that thinks it is still active is a real hazard when you tip it. I also unplug the charging base while I work, just so nothing tries to restart. Give yourself a clear, flat spot on a workbench or a folded towel on the patio before you flip it.
For the bigger picture, our main guide Robot Mower Maintenance: The Complete Guide sets the scene.
Wear Gloves and Turn It Over Safely
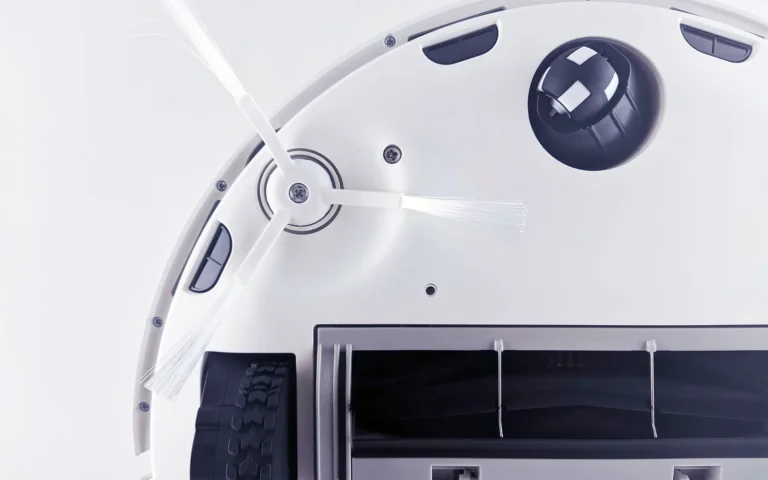
Cut-resistant gloves are not overkill here. Even a dull star blade or a razor edge can open a knuckle if your hand slips. Grip the mower by its solid body, never by the bumper or the sensor housing, and roll it onto its back on a soft surface so you do not scratch the top shell. Keep the battery side up and the deck facing you. If your model is heavy, around 20 to 30 pounds on larger units, brace it against a wall or ask someone to steady it. Take a quick photo of the underside before you start, which gives you a reference for how the blades sit.
Scrape Off the Packed Grass and Debris
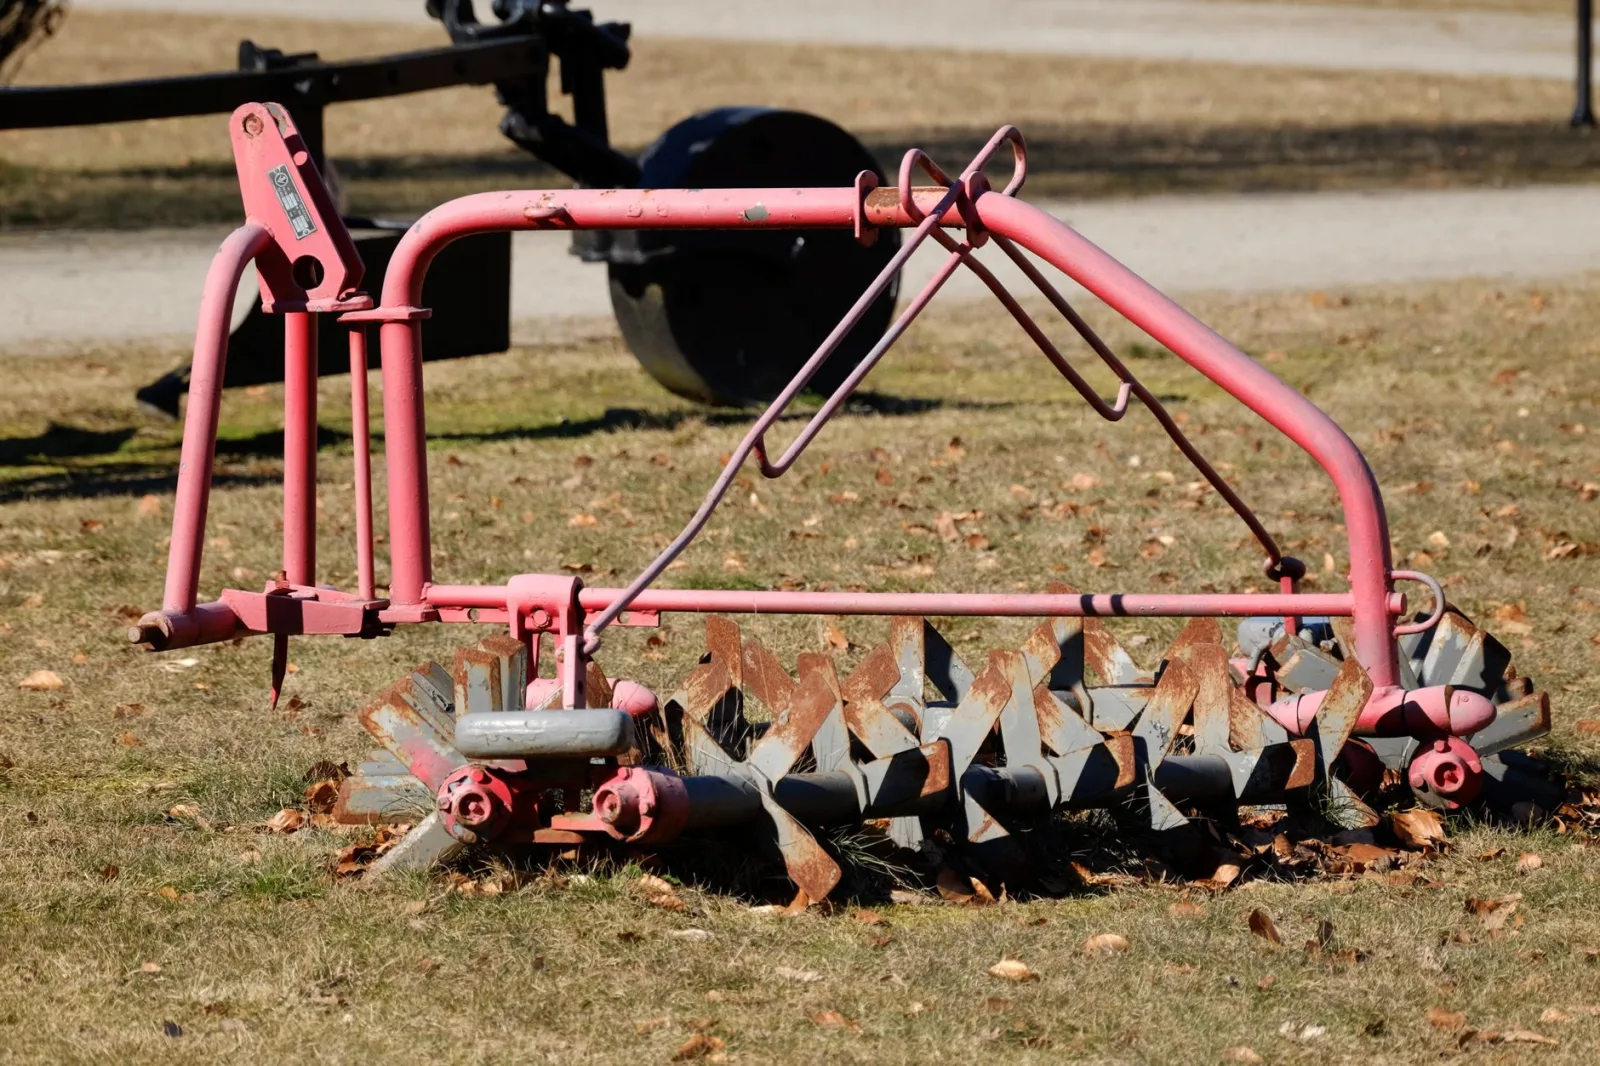
Start dry. A plastic scraper, an old spatula, or a stiff nylon brush lifts most of the caked clippings without gouging the deck. Work from the center outward and pay attention to the ring around the blade disc, where the buildup is usually worst. Avoid metal scrapers on plastic housings because they leave scratches that trap grass even faster next time. For the tight channels near the wheels, a bamboo skewer or a plastic knife gets in where a brush cannot. This dry pass removes the bulk of it, and doing it first means you use far less water in the next step.
Clean Around the Blade Disc Carefully
The blade disc is the heart of the machine and the trickiest spot to clean. Spin it slowly by hand, with gloves on, and check that each small blade swings freely on its pin. Clippings and grit love to jam these pivots, which dulls the cut and leaves streaks in the lawn. Wipe the disc and the blades with a damp cloth, then dry them. If a blade is bent, chipped, or barely moving, this is the moment to swap the set. A fresh set costs only a few dollars up to about $30 and takes minutes, so there is no reason to run tired blades.
Underside Cleaning Kit You Actually Need
- A pair of cut-resistant gloves for handling the blades
- A plastic scraper or old spatula for caked clippings
- A stiff nylon brush for the deck and blade ring
- A bamboo skewer or plastic knife for tight channels
- A bucket of plain water, no pressure washer
- A couple of clean rags or microfiber cloths
- A soft towel to dry the metal blade disc fully
- A spare set of blades in case one is worn
- A screwdriver if your model needs one for blade swaps
- A folded towel or mat to protect the top shell
It helps to read this alongside How to Replace Robot Mower Blades Safely.
Damp Wipe, Never Blast With a Hose
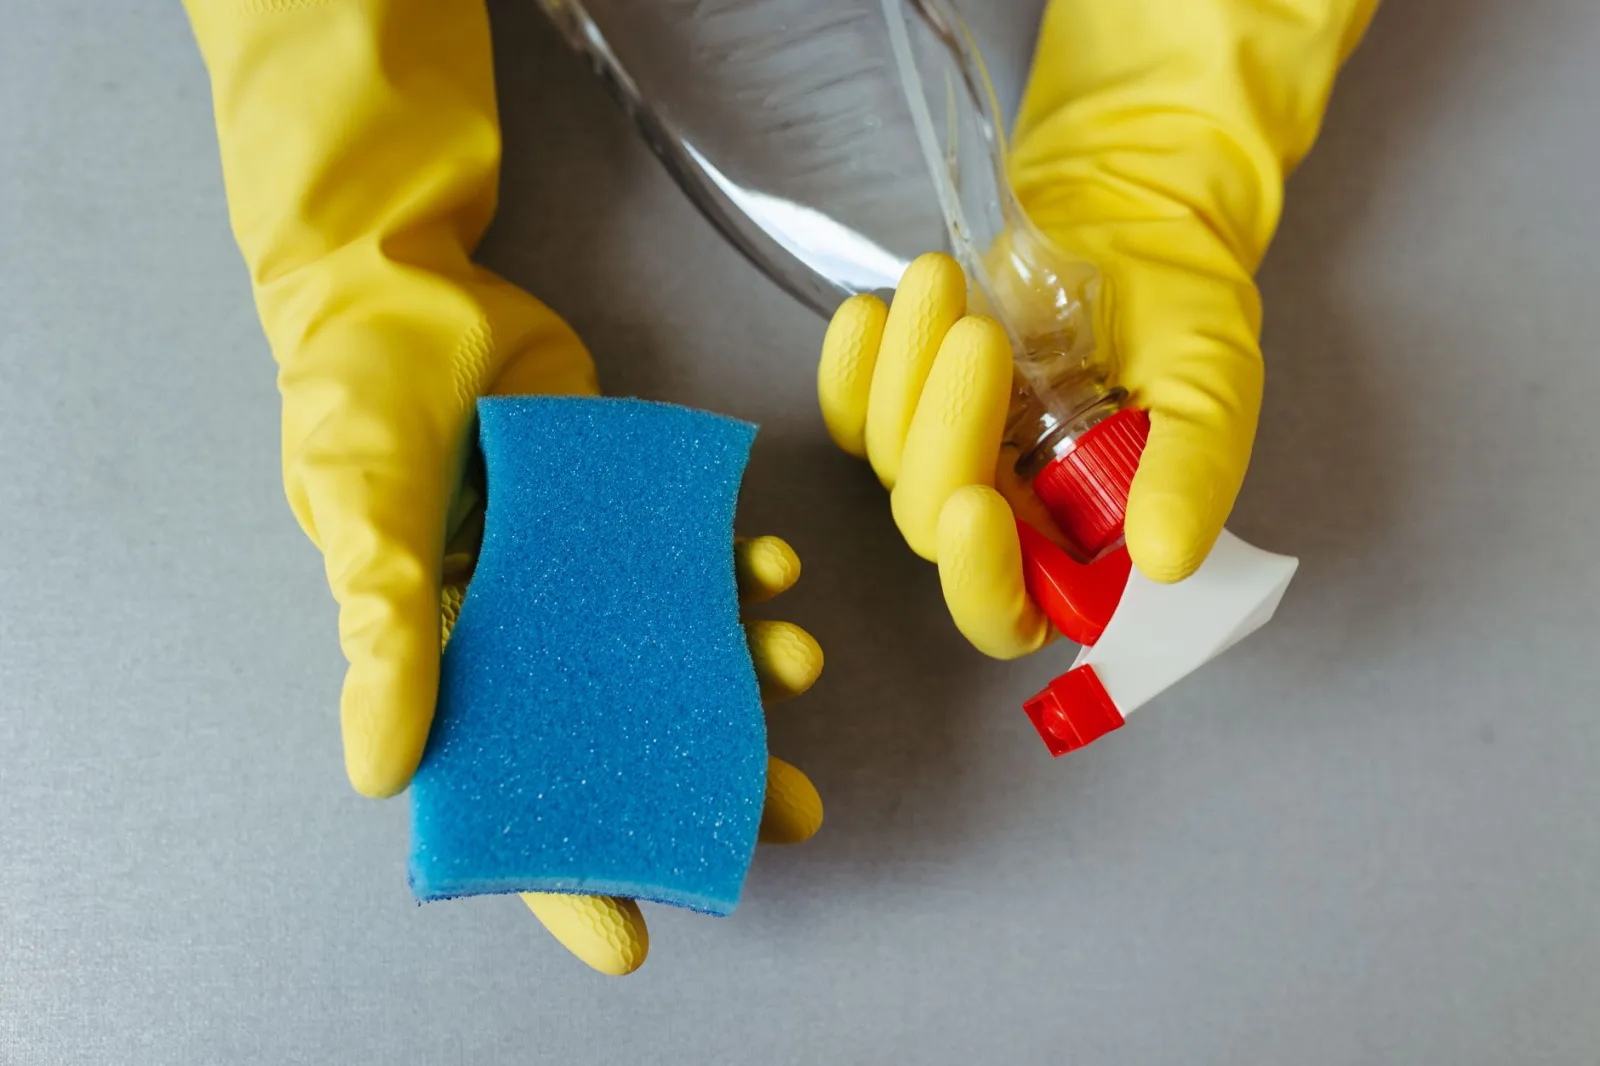
Here is where people wreck mowers. Do not aim a pressure washer or a garden hose jet at the underside. Water forced past the seals reaches the motor, the wheel bearings, and the electronics, and that damage is rarely covered by warranty. Most manuals allow a gentle rinse or a damp cloth only. I use a bucket of water, a soft brush, and a rag, wiping the deck clean and rinsing the brush as I go. Keep water away from the charging contacts and any sensor windows. A little patience here beats an expensive repair later, every single time.
It is worth skimming general lawn mower mechanics for extra context.
Dry It, Check the Wheels, and Reassemble
Once the deck is clean, dry everything with a towel so no moisture sits against the metal blade disc overnight. Look at the drive wheels while the mower is upside down, since caked mud in the treads is a common reason for slipping on slopes. Pick grass out of the wheel wells and confirm the wheels turn freely. Set the mower back on its wheels, restore power, and send it out for a short test run. Watch the first pass. A clean underside should mean a smoother, quieter cut and a mower that climbs its usual slopes without spinning.
The short version
Cleaning the underside is not glamorous, but it is the job that keeps every other part of the mower honest. A clean deck means a sharper cut, a wheel that grips, and a battery that is not fighting drag all day. Build it into a habit: gloves on, power off, flip, scrape, wipe, dry. Ten minutes every couple of weeks in the growing season is enough. Do that, keep water away from the electronics, and your mower rewards you with quiet, even mowing and years of service instead of a slow, gummed-up decline.
It helps to read this alongside Robot Mower Maintenance Mistakes That Cost You.