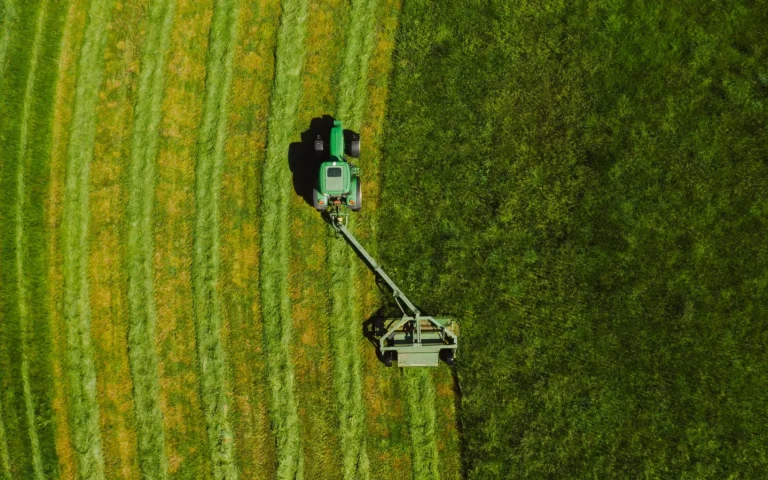
The steepest bank on my property drops toward a drainage ditch, and for the first month my mower treated it like a personal enemy. It spun, it stalled, it left a ragged Mohawk of long grass right down the middle. Slopes are where cheap setups fall apart and where a little patience pays off enormously. The good news is that most of the fixes cost nothing but an afternoon. Below is the exact sequence I now use whenever I install on a hill, refined over three seasons of watching wheels slip and grass clump on a wet April morning.
Step 1: Measure the Actual Grade First
Before anything else, find out how steep your bank really is, because guesses run high. Lay a straight board on the slope, rest a level on it, and measure the gap under the low end over a known length. A 12-inch rise over 24 inches of run is a 50 percent grade, roughly 27 degrees. Most robot mowers handle 25 to 45 percent inclines, about 14 to 24 degrees, and a few specialist models with cleated wheels climb far steeper. If your measured grade sits near your model's rated limit, plan for extra traction help rather than hoping the mower muscles through.
New to this? Start with our overview, How Robot Mowers Change Lawn Care for the Better, then come back here.
Step 2: Run the Boundary Wire Along the Contour
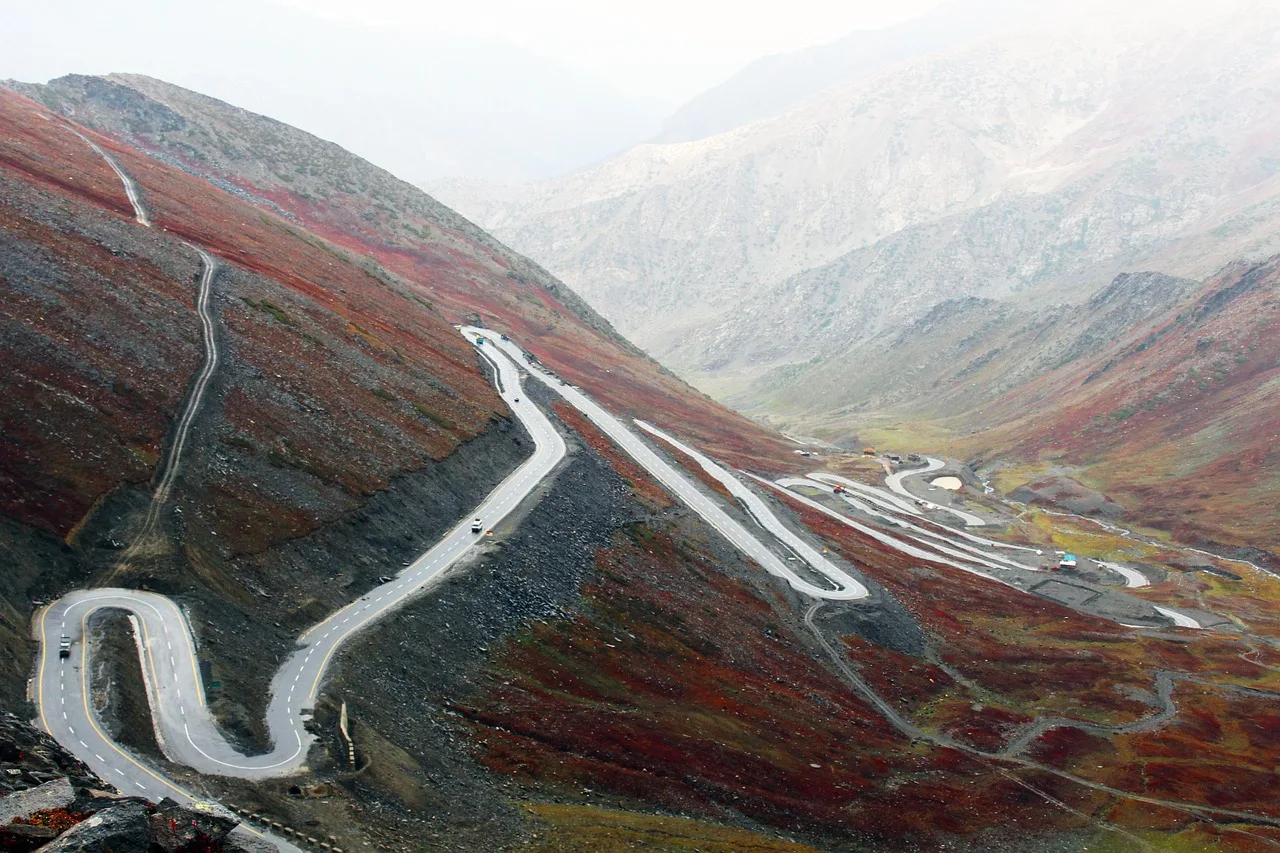
How you route the perimeter wire changes everything on a hill. Where you can, keep the wire running across the slope along the contour rather than straight up and down, so the mower approaches at a gentler diagonal instead of a head-on climb. Peg the wire tightly to the surface with stakes every 12 to 18 inches, because loose wire on a bank pulls up as wheels chew the turf. On the steepest section, add a few extra pegs. Grass grows over the wire within two to three weeks and hides it completely, so a dense peg pattern costs you nothing in looks.
Step 3: Give the Mower a Diagonal Attack Angle
A robot mower that hits a slope straight on tends to lose grip at the crest and slide. In the app or through your no-go zones, shape the mowable area so the machine crosses the bank at an angle, climbing gradually the way a hiking switchback does. On wire models you achieve this by curving the boundary so the mower rarely faces the fall line directly. The cut looks tidier and the wheels spin far less. I dropped my stuck-on-the-hill rescues from twice a week to almost never just by reshaping the approach.
Step 4: Mow Slopes When They Are Dry
Traction on grass is a wet-versus-dry problem more than a horsepower problem. Wet blades act like tiny ball bearings under rubber wheels, so a bank the mower climbs easily at noon becomes a skating rink at 6 a.m. with dew on it. Schedule slope mowing for the afternoon once the surface has dried, and let the rain sensor pause runs during showers. If your climate stays damp, a model with deeper wheel treads or spiked traction wheels earns its price. Dry timing alone fixed most of my early slipping complaints without any new hardware.
Slope Setup Checklist Before the First Run
- Measure the true grade with a board and a level
- Confirm the slope sits within your model's rated incline
- Route boundary wire across the contour where possible
- Peg the wire every 12 to 18 inches on the bank
- Shape zones so the mower climbs at a diagonal
- Schedule slope passes for dry afternoon hours
- Enable the rain sensor to pause wet runs
- Fit slope wheels or tracks if slipping continues
- Clean grass and mud from wheel treads weekly
- Raise cutting height slightly on the steepest ground
- Give the bank an extra weekly pass if zoning allows
- Watch the first few runs and adjust before walking away
You will find more on this in Robot Mown vs Traditionally Mown Lawns.
Step 5: Add Traction Hardware if You Still Slip
When timing and routing are not enough, the fix is grip. Many brands sell dedicated slope wheels or rubber tracks that clip onto the standard drive wheels, usually for $20 to $60 a set. These bite into turf far better than the molded plastic wheels shipped as standard. Cleaning packed grass and mud out of the wheel treads every week or two also restores lost traction that owners often blame on the motor. Check your manual before swapping wheels, since not every chassis accepts aftermarket parts, and the wrong fit can damage the axle.
It is worth skimming water-smart landscaping from the EPA WaterSense program for extra context.
Step 6: Set Overlap and Frequency Higher on Banks
Even a well-behaved mower misses more on a slope than on the flat, so lean on frequency to hide it. Because these machines cut a little every day and grasscycle the clippings, running the slope zone slightly more often keeps growth from ever getting ahead of the wheels. If your app allows per-zone schedules, give the bank an extra pass or bump its priority. Raising the cutting height a notch on steep ground, toward the 2-inch end of the 0.8 to 2.4 inch range, also reduces scalping when the deck tips. Small tweaks, compounded daily, produce the even finish you want.
Bringing it together
Slopes turn a lot of new owners off robot mowers, and that is a shame, because the fixes are so ordinary. Measure the real grade, route the wire along the contour, mow when the grass is dry, and add traction only if the basics fall short. Watch those first few runs instead of walking away, and you will spot the one bank that needs a tweak before it becomes a weekly rescue. Get the hill right once and the machine handles it quietly for years, leaving you a lawn that looks even from the street down to the ditch.
You will find more on this in Fixing Bare Patches in a Robot-Mown Lawn.