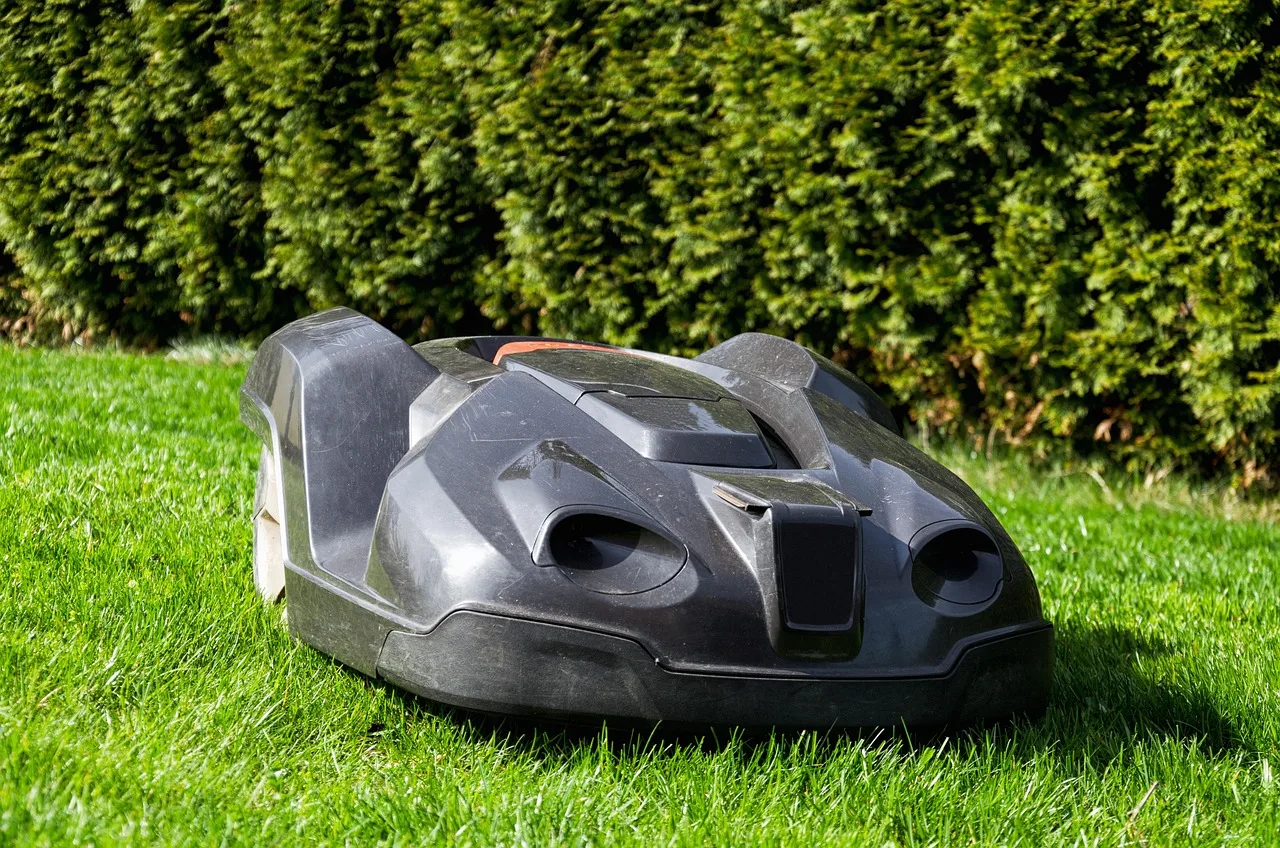
A reader emailed me last spring in a mild panic: bare, muddy tracks had appeared in her lawn a few weeks after her robot mower arrived, and she was sure the machine had ruined it. It had not, but it had exposed a weak spot and then made it worse by driving the same line every day. Bare patches under a robot mower are common, fixable, and usually preventable once you know the cause. Here is the exact sequence I gave her, from finding the culprit to reseeding and keeping the mower off the tender new grass.
Step 1: Find Out What Caused the Patch
Before you fix anything, work out why the patch is bare. Look at where it sits. Straight worn lines near the charging base or along a common route point to repeated wheel traffic. Circular scuffs suggest the mower is pivoting in one spot. Thin, mossy areas mean shade or poor soil, not the mower. Muddy tracks show up where drainage is bad and wheels slip. Take a photo and note the pattern, because the cause decides the cure. Reseeding without fixing the underlying reason just grows grass for the mower to wear away again.
New to this? Start with our overview, How Robot Mowers Change Lawn Care for the Better, then come back here.
Step 2: Ease the Traffic That Wears Grass Bare
If wheel traffic is the culprit, spread the load. Move the charging station so the mower does not funnel through one narrow choke point every trip. If your model uses a guide wire, reposition it slightly so the return path shifts over time. Reduce the mowing frequency a little, since a lawn cut twice a day sees far more wheel passes than one cut every other day. On mapped models, vary the start point or zones. The goal is to stop the same tires hitting the same blades of grass over and over.
Step 3: Prepare the Bare Spot for Seed
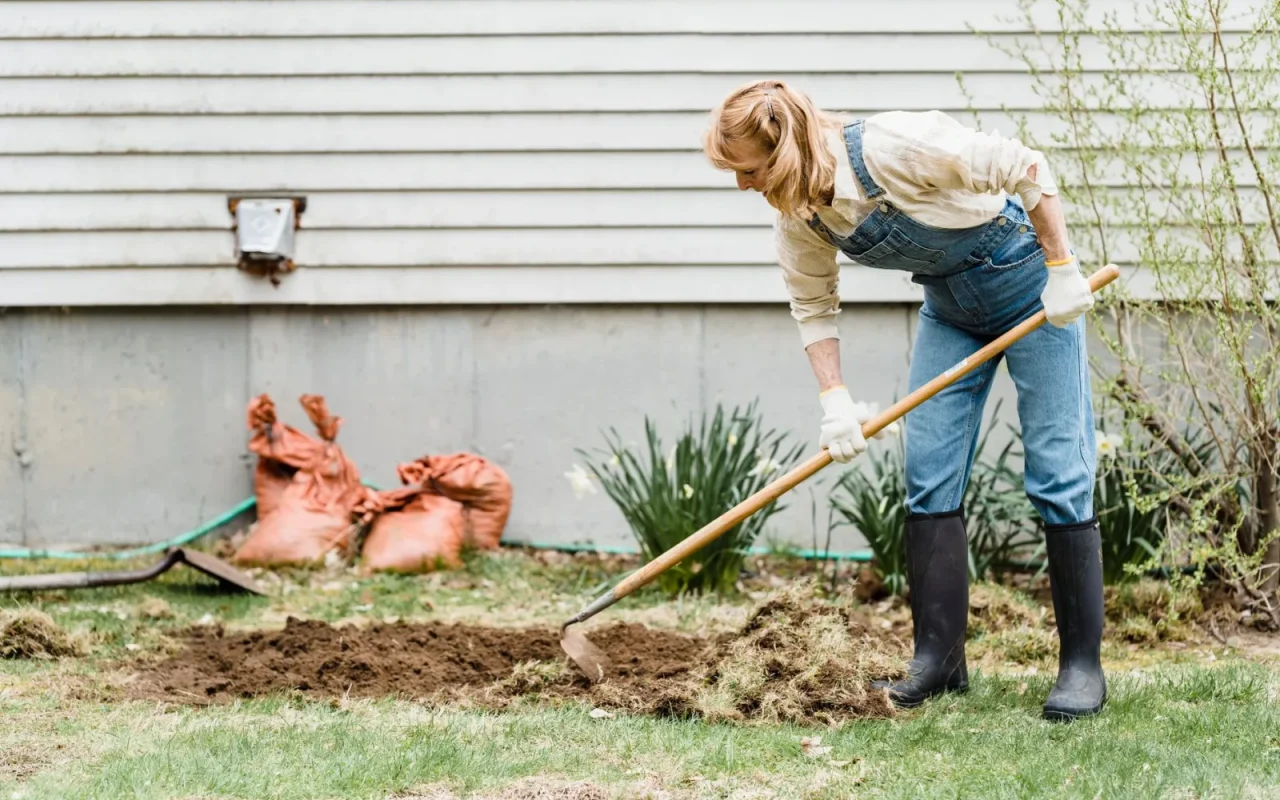
Once the traffic issue is eased, prep the patch. Rake out any dead grass, moss, and loose debris to expose bare soil, then loosen the top half inch so seed can make contact. If the soil is compacted, work it with a hand fork to improve drainage and root depth. Level any ruts by adding a little screened topsoil or a soil and compost mix. Firm it gently with your foot. Good seed-to-soil contact is the single biggest factor in whether a patch fills in, so do not skip the prep.
Step 4: Sow the Right Seed and Water In
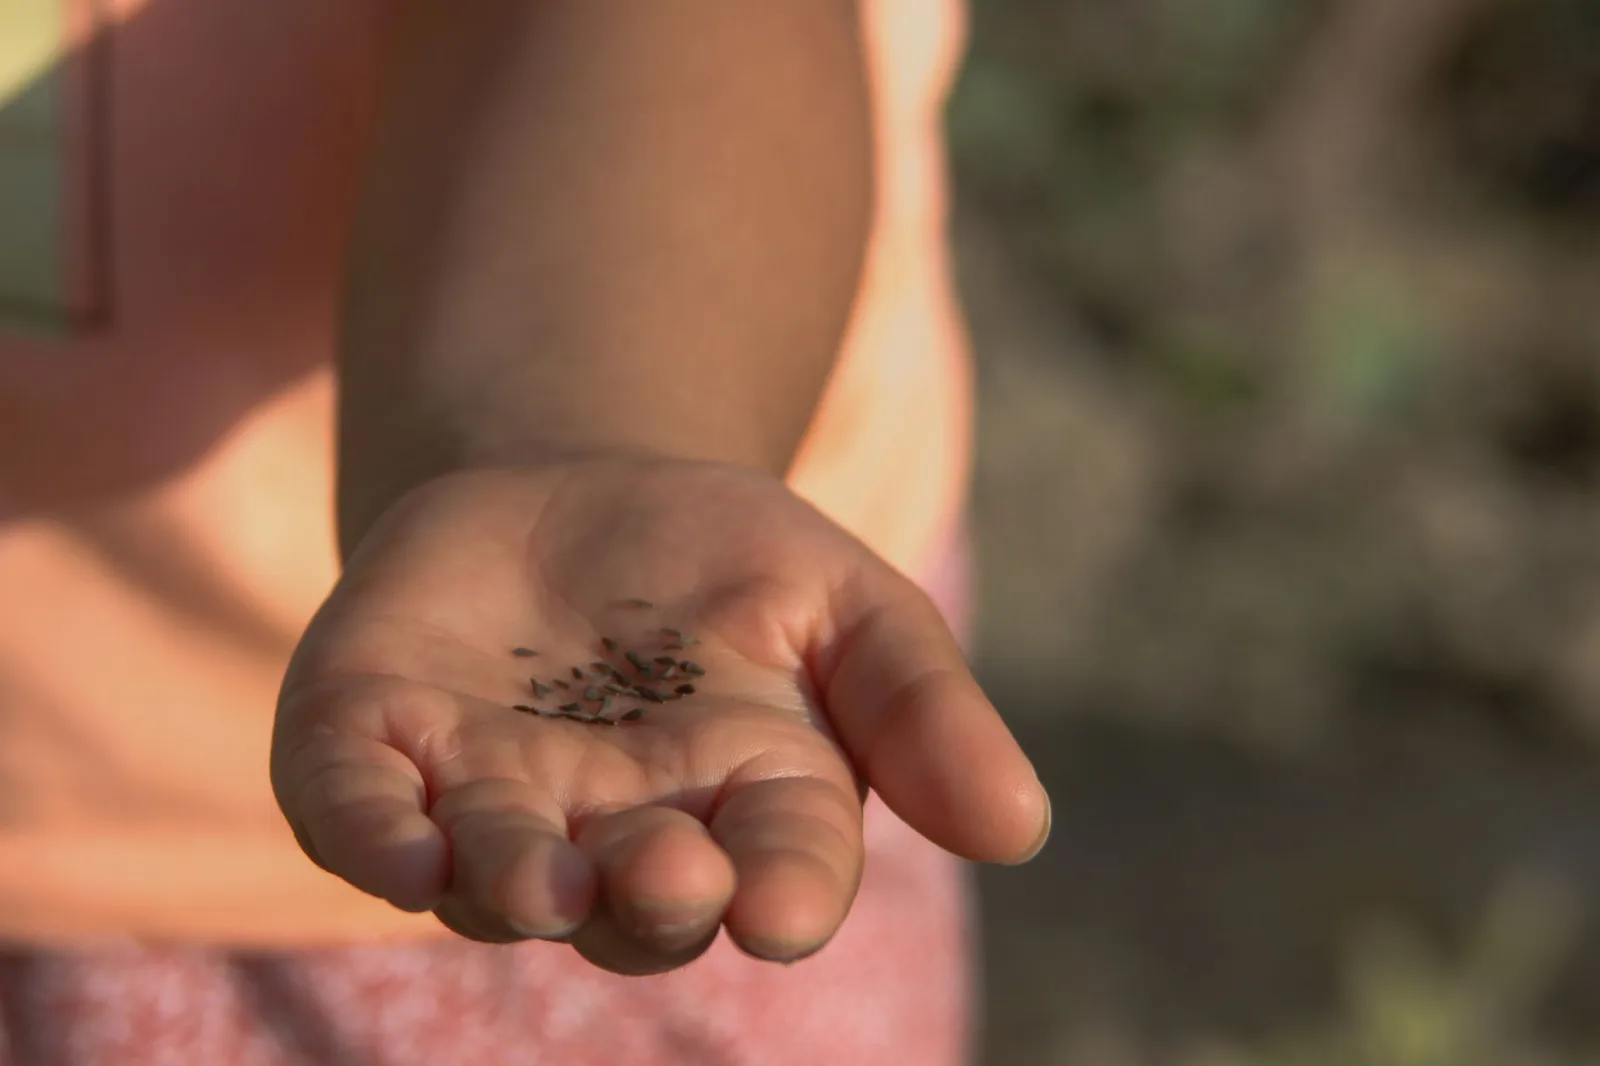
Choose a grass seed that matches the rest of your lawn and the light in that spot, using a shade mix under trees. Scatter seed at the rate on the bag, a little heavier on stubborn patches, then rake lightly so most seed sits just under the surface. Water gently and keep the area consistently moist, not soaked, until germination, which usually takes one to three weeks depending on grass type and temperature. A thin layer of seeding mulch or fine compost helps hold moisture and hide seed from birds while it takes.
A Quick Bare-Patch Repair Checklist
- Photograph the patch and note whether it is a track, pivot, or thin spot
- Identify the cause: wheel traffic, poor drainage, shade, or soil
- Relocate the charging base or guide wire to spread wheel traffic
- Reduce mowing frequency if the lawn is cut too often
- Rake out debris and loosen the top half inch of soil
- Level ruts with screened topsoil or a soil and compost mix
- Sow seed matched to the light, then rake it in lightly
- Keep the soil moist until seedlings reach a couple of inches
- Block the area with a no-go zone until the grass is rooted
- Raise the cutting height for the first few weeks after reintroducing the mower
- Overseed lightly each season to keep the repaired area dense
For a closer look, see The Best Cutting Height for a Robot Mower.
Step 5: Keep the Robot Mower Off New Grass
This step is where most people slip. New seedlings cannot survive a mower, robot or not, until they are rooted and tall enough. Use a no-go zone in the app, a temporary boundary, or simply block the area with a few garden stakes and mesh so the mower routes around it. Wait until the new grass reaches a couple of inches and has been through one or two gentle hand trims before you let the robot back. Rushing this undoes all your work in a single afternoon of mowing.
It is worth skimming turfgrass science research from Purdue University for extra context.
Step 6: Reintroduce Mowing and Protect the Repair
When the new grass is established, let the robot return but protect the recovery. Raise the cutting height for the first few weeks so the young turf keeps more leaf and roots deeper. Watch the repaired spot for signs the wheels are wearing it again, and adjust the route or frequency if they are. Overseed lightly each season to keep the area dense, since thick turf resists traffic far better than thin turf. With the cause fixed and the mower managed, the patch should hold and blend into the rest of the lawn.
A final word
Bare patches feel alarming, but they are one of the most straightforward robot mower problems to solve. The pattern of the damage tells you the cause, and the cause tells you the cure. Ease the wheel traffic, prep the soil properly, sow the right seed, and then have the discipline to keep the mower off the young grass until it can take a cut. Fix the reason rather than just the symptom, protect the repair with a higher deck and seasonal overseeding, and your lawn will knit back together and stay that way.
You will find more on this in Robot Mown vs Traditionally Mown Lawns.