The first time I helped a friend install his robot mower, we got halfway through pegging the wire before realizing we had nothing to cut it with cleanly. A kitchen scissors and a lot of swearing later, I started keeping a proper kit. Most of these machines ship with a starter bag of pegs and a couple of connectors, but the tools that actually do the work are yours to supply. None of it is exotic. You almost certainly own two thirds of the list already. Here is what to gather before you open the box, sorted so nothing gets left in the shed.
Measuring and Planning Tools
Before a single peg goes in, you measure. A long tape measure or a wheeled measuring device helps you check the width of narrow passages and the distance from beds. Print a satellite image of your lawn or sketch it on paper so you can plan the wire route and the base location. A can of marking spray paint, the kind landscapers use, lets you draw the perimeter on the grass first and adjust it before committing. I also keep a phone with the mower's app installed and charged, since a few models want you to confirm measurements on screen. Getting the plan right on paper is far cheaper than lifting a hundred pegs later.
New to this? Start with our overview, How to Install a Robot Lawn Mower Step by Step, then come back here.
Wire, Pegs, and Cutting Tools
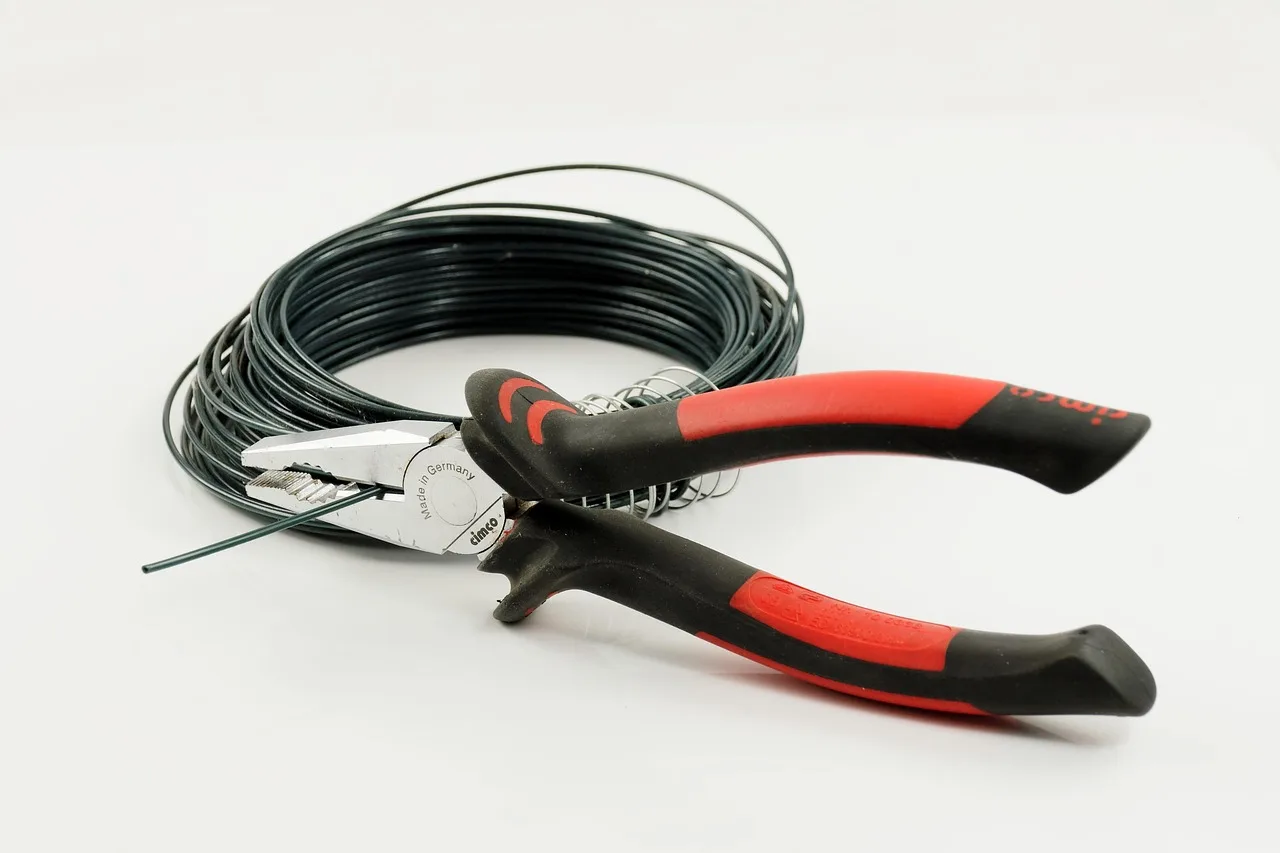
For boundary-wire models, the wire and pegs in the box are your starting supply, but big or awkward lawns often need a second spool. A sharp wire cutter or a good pair of side-cutting pliers gives you clean ends that seat properly in the connectors. Keep a utility knife handy for stripping insulation if your connectors need bare copper. A rubber or plastic mallet drives pegs flush without splitting them, and it beats a claw hammer that tends to bend them sideways. Wet ground swallows pegs easily; dry, compacted soil fights back, which is where the mallet earns its place.
Ground and Digging Tools
If you plan to bury the wire a few inches rather than pegging it on the surface, you need something to open a shallow slot. A half-moon edging tool or a flat spade cuts a neat trench along the lawn edge. For crossing a path or driveway, a cold chisel and a hammer let you tuck the wire into an existing expansion joint. A garden trowel handles the base-station cable and any short buried runs. Nothing here needs to be powered, though a lawn edger with a trenching blade speeds up long straight sections if you already own one. Keep a stiff brush nearby to sweep soil back into the slot.
Electrical and Base Station Tools
The charging base plugs into a standard outdoor outlet, so a working outlet within reach of the supplied low-voltage cable is the real requirement. A Phillips and a flathead screwdriver cover most base-plate fixings and terminal blocks. If the base sits on a hard surface, a masonry drill bit and suitable anchors hold it steady. Keep a roll of outdoor-rated electrical tape and a couple of spare waterproof wire connectors for any joint you make. This is general guidance, not electrical advice, so if the outlet itself needs work, bring in a licensed electrician and follow the mower manual to the letter.
Complete Robot Mower Install Tool Checklist
- Long tape measure or wheeled measuring device
- Marking spray paint to draw the wire route
- Printed satellite image or a hand sketch of the lawn
- Sharp wire cutters or side-cutting pliers
- Rubber or plastic mallet for driving pegs
- Half-moon edger or flat spade for burying wire
- Garden trowel and a cold chisel for path crossings
- Phillips and flathead screwdrivers for the base
- Masonry drill bit and anchors for hard surfaces
- Sturdy gloves, knee pads, and safety glasses
- Spare pegs and a few extra waterproof connectors
- Charged phone with the mower app and WiFi password
This connects neatly with Setting Up No-Go Zones and Flower Bed Borders.
Safety Gear Worth Wearing
It is a low-risk job, but a few simple items keep it that way. Sturdy gloves protect your hands from wire ends and from the blade area when you handle the mower. Knee pads or an old foam mat save your knees during a long afternoon of pegging along the perimeter. Safety glasses matter if you are chiseling a path joint or driving pegs into stony ground, since chips fly. Closed shoes are obvious yet easy to skip on a warm day. None of this slows you down, and it means the install stays the pleasant weekend project it should be.

It is worth skimming the basics of robotic mower navigation for extra context.
Small Extras People Always Forget
The little things cause the biggest delays. Spare pegs disappear into long grass, so buy an extra pack. Extra connectors save the whole job when you nick the wire and need a clean splice. A permanent marker labels which cable is which at the base. Zip ties tidy the base-station leads and stop them tangling in the mower. A small container or an old cup keeps loose pegs from scattering across the lawn. And a fully charged phone, plus the WiFi password written down, spares you a trip back indoors mid-setup. Gather these first and the whole thing feels almost relaxing.
Before you head outside
Gathering your tools before you open the box is the single easiest way to keep an install pleasant instead of frustrating. Almost everything on this list already lives in a garage or shed, and the few extras cost very little next to the mower itself. Lay the wire loosely, walk the perimeter, and only commit pegs once the route feels right. Do that with the kit above within reach, and you will spend the afternoon watching the mower make its first quiet laps rather than driving back to the store for a wire cutter.
This connects neatly with How to Connect a Robot Mower to WiFi and the App.