
The first robot mower I set up took me most of a Saturday afternoon, and honestly half of that was me second-guessing steps I could have done in ten minutes. Once you see the whole process laid out in order, it stops feeling like an electronics project and starts feeling like assembling a piece of garden furniture. There are really only a handful of stages: prepare the lawn, place the dock, define the boundary, pair the app, and run a supervised test. Do them in sequence and you rarely backtrack. Here is exactly how I work through each one.
Step 1: Prep the Lawn and Unbox Carefully
Before anything electronic, mow the grass once with a regular mower so it sits around two inches. Tall grass hides holes, sticks, and stones that snag a robot on its first outings. Walk the yard and pull out anything hard: dog toys, fallen branches, wire plant markers. Then open the box and lay every part on a towel so nothing rolls into the grass. You should find the mower, the charging dock, a spool of boundary wire, a bag of pegs, connectors, and a power supply. Check the packing list against what is in front of you now, because a missing connector will stall you later.
You will find more on this in Burying vs Pegging Robot Mower Boundary Wire.
Step 2: Choose and Anchor the Charging Dock
The dock needs a flat, level patch with a few feet of clear run in front so the mower can drive straight in. Keep it near an outdoor outlet, ideally in light shade to spare the battery from full summer heat. Most docks sit against a lawn edge with the base plate on the grass. Screw the supplied pegs through the plate into firm soil so it cannot shift when the mower bumps home. Route the low-voltage power cable along the edge and peg it flat. Plug in and confirm the dock shows a steady status light before you go further.
Step 3: Lay the Boundary or Map the GPS Zone
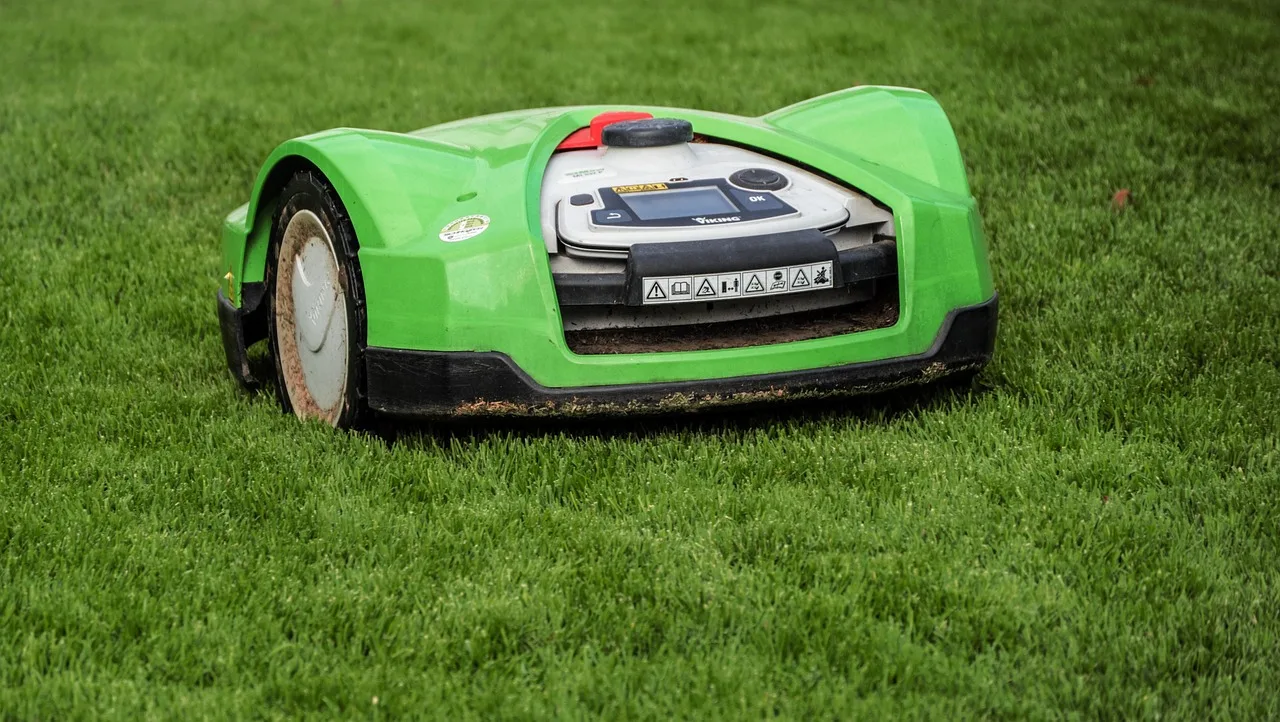
This is the step that defines where the mower is allowed to roam. On a wire model, run the perimeter wire around the lawn edge, pegging it every two or three feet and holding a small consistent gap from beds and hard edges. Loop it back to the dock terminals and cut off the slack. On a wire-free GPS model, skip the wire entirely and instead walk the perimeter slowly while the app records your path as a virtual boundary. Either way, take your time on corners, since a rushed corner is where mowers most often wander out or miss a strip.
Step 4: Pair the App and Update Firmware
Download the manufacturer app, create an account, and follow the pairing flow, which usually means holding a button until the mower flashes and appears on your phone. Connect it to your home Wi-Fi so it can pull updates and send alerts. Run any firmware update it offers right away, even if it adds fifteen minutes, because early updates often fix docking and navigation quirks you would otherwise blame on yourself. While you are in the app, set a sensible cutting height for the season and glance at the schedule screen so you know where those controls live.
Your Installation Day Sequence
- Mow the lawn once and clear all loose debris
- Unbox and check every part against the packing list
- Pick a flat, shaded dock spot near an outlet
- Peg the dock base firmly into the soil
- Run the boundary wire or walk the GPS perimeter
- Connect the wire ends to the dock terminals
- Pair the mower with the app over Wi-Fi
- Install any available firmware update
- Set the seasonal cutting height
- Run one supervised test loop end to end
- Confirm the mower docks and charges on its own
- Set a gentle starting schedule for the first week
You will find more on this in Installing a Robot Mower on a Sloped Lawn.
Step 5: Run a Supervised First Test
Now send the mower out with you watching the whole loop. Start it from the dock and follow along at a walking pace. Watch how it treats corners, narrow necks, and slopes, and note any spot where it hesitates, climbs a bed, or spins a wheel. A first run is diagnostic, not decorative, so expect to tweak. If it crosses the boundary, nudge that section of wire inward or redraw that part of the GPS map. Let it find its own way back to the dock at least once so you confirm charging actually engages.

You can also dig into how RTK satellite positioning works for the wider science.
Step 6: Set the Schedule and Walk Away
Once a full test loop looks clean, set a light starting schedule rather than an aggressive one. Two or three shorter sessions a day beats one marathon, since robot mowers are designed to trim a little often and mulch the clippings. Give it three or four days at this gentle pace, then check the lawn for missed strips or scalped spots and adjust height or run time. Resist the urge to fiddle daily. These machines reward patience, and a lawn that looked patchy on day one usually evens out within two weeks.
It is worth reading our guide to How to Set Up a Wire-Free GPS Robot Mower as well.
You can go further with our piece on Where to Place Your Robot Mower Charging Station.
Before you head outside
Installing a robot mower is far less daunting once you treat it as five clear stages instead of one big job. Prep the lawn, anchor the dock, define the boundary, pair the app, and test with your own eyes before trusting it alone. The supervised first loop is the part people skip and later regret, so give it the twenty minutes it deserves. Get those basics right and you buy yourself an entire season of quiet, hands-off mowing. Start gentle, watch the first few runs, and let the machine settle into your yard at its own steady pace.
We break down the next step in Common Robot Mower Setup Mistakes to Avoid.