The mowing hardware went in fine. It was getting the thing onto my home network that ate an hour of my evening. If you have ever tried to pair an outdoor gadget with a router sitting two rooms away, you know the pattern: the app spins, times out, and offers no clue why. Connecting a robot mower to WiFi is genuinely easy once you know the order of operations and the two or three things that quietly cause most failures. Get this right and you gain scheduling, GPS tracking, alerts, and updates from your phone. Here is the process that works without the guesswork.
Step 1: Download the App and Make an Account
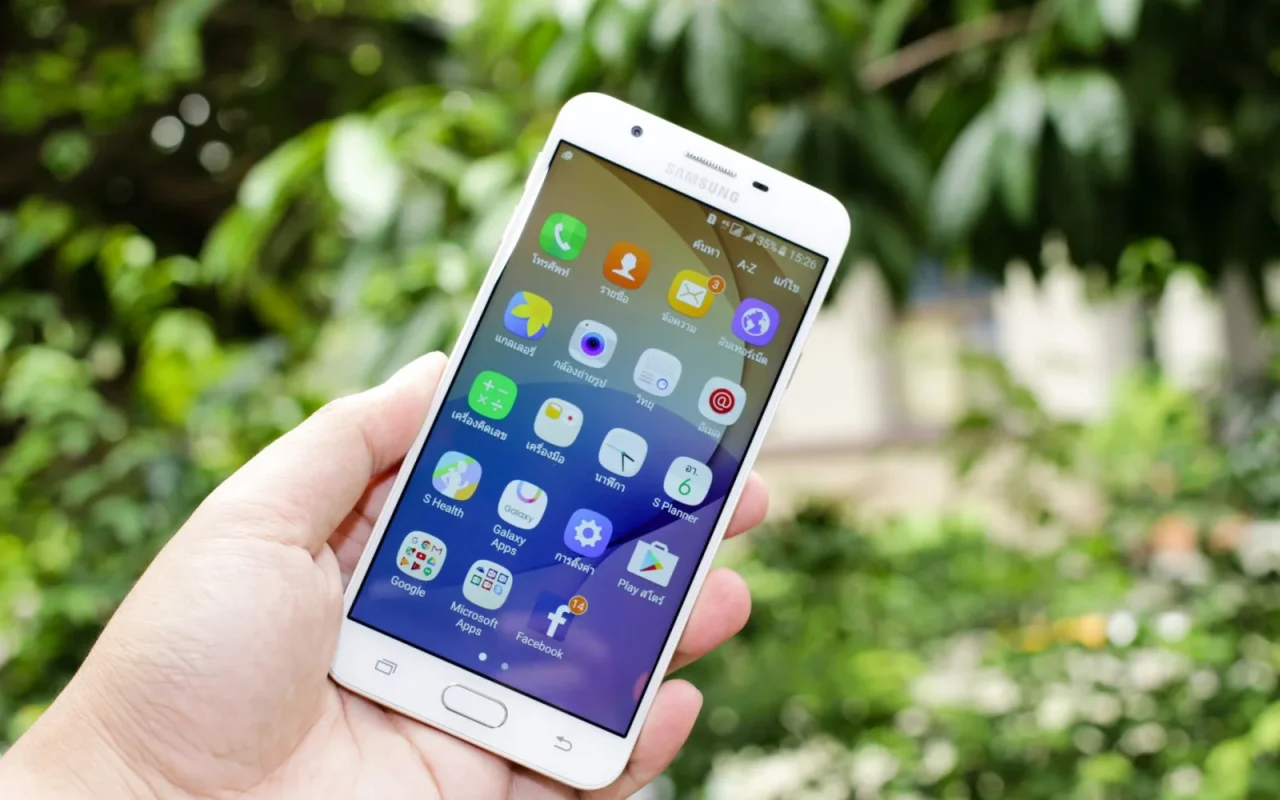
Start by finding your brand's official app in the phone store and installing it before you touch the mower. Create an account with a real email you can access, since you will need to confirm it and it becomes your recovery path if you forget the password. Use a strong, unique password rather than reusing one, because this account can control a machine in your yard and often holds its location. Have the mower's model or serial number handy, usually on a label under the shell or in the manual, as the app asks for it during pairing.
New to this? Start with our overview, How to Install a Robot Lawn Mower Step by Step, then come back here.
Step 2: Check Your WiFi Band First
This is the step that saves the most frustration. Many robot mowers connect only to a 2.4 GHz network, not the 5 GHz band, because the lower frequency reaches farther across a yard. If your router broadcasts both under one combined name, the phone may hand the mower the 5 GHz band and pairing fails silently. Either temporarily split the bands into separate names, or connect your phone to the 2.4 GHz network during setup so the app passes the right one. Confirm the band question in your manual before you start, and half the common connection problems never appear.
Step 3: Put the Mower in Pairing Mode
With the app open and your account ready, follow the prompts to enter pairing or setup mode on the mower. This usually means a specific menu on the machine's display or a press-and-hold on a button, and the mower often creates a temporary hotspot or a Bluetooth link your phone joins to hand over the WiFi details. Keep your phone close to the mower for this handshake, within a few feet, even if the mower sits far from the router. Enter your network name and password carefully, since a single wrong character is the most common reason pairing stalls.
Step 4: Confirm the Signal Reaches the Yard
The mower and its charging base often live at the edge of the property where WiFi is weakest. After pairing, check the signal strength shown in the app while the mower sits at its dock. A weak or dropping connection means the mower loses scheduling changes and live tracking. If the bars are low, a mesh WiFi node, a range extender near an exterior wall, or an outdoor-rated access point closes the gap. Some owners simply move the base a little closer to the house. A stable link at the dock is what keeps the app genuinely useful.
WiFi Connection Checklist
- Install the official brand app from your phone store
- Create the account with a real, accessible email
- Use a strong, unique password for the mower account
- Confirm whether the mower needs 2.4 GHz WiFi
- Connect your phone to the 2.4 GHz band during setup
- Have the model or serial number ready to enter
- Keep the phone within a few feet during pairing
- Type the network name and password carefully
- Check signal strength at the charging dock
- Add a mesh node or extender if the yard signal is weak
- Grant location and notification permissions
- Update the firmware and run a remote test command
We break down the next step in Burying vs Pegging Robot Mower Boundary Wire.
Step 5: Pair, Name, and Set Permissions
Once connected, the app registers the mower to your account. Give it a recognizable name if you have more than one machine or lawn, and grant the location and notification permissions the app requests so anti-theft tracking and alerts actually work. Set a PIN on the mower itself as well, which pairs with the app account to lock out anyone who lifts it. Take a moment to review what the app can control remotely, then run a test command like sending it out to mow, to confirm the round trip from phone to mower works.
If you like to read around a topic, see the basics of robotic mower navigation.
Step 6: Update Firmware and Test Remote Control
With the connection live, check for a firmware update straight away and install it, since early software commonly fixes connection drops and navigation quirks. Let the mower finish updating on the dock without interruption. Then test the features you care about from inside the house: start and stop a mow, adjust the schedule, and watch the status refresh. If commands lag badly or fail, revisit the signal strength from Step 4. A mower that responds quickly from your kitchen is the sign the whole setup is solid and ready to trust.
Bringing it together
Getting your mower online is less about tech skill and more about doing the steps in the right order. Install the app, make a secure account, sort out the 2.4 GHz band before you pair, keep the phone close during the handshake, and confirm the signal actually reaches the dock. Finish by updating the firmware and sending a test command from indoors. Once that round trip works smoothly, you have added scheduling, tracking, and alerts that turn a good mower into a genuinely hands-off one. If it stalls, suspect the WiFi band first, almost every time.
You will find more on this in How to Lay Boundary Wire for a Robot Mower.