Every new robot mower owner notices it within the first week: a thin fringe of longer grass hugging the fence, the flower beds, and the driveway. It looks like the mower is slacking, but it is doing exactly what it was designed to do. The blades sit safely inboard from the outer edge of the shell, so they physically cannot reach right up to a wall or a bed. That gap is a safety feature, not a fault. The good news is that keeping edges crisp takes only a few minutes and a couple of setup choices. Here is how I handle the edges the robot leaves behind.
Step One: Understand Why the Fringe Exists
Start by knowing what you are dealing with. On robot mowers the cutting blades are deliberately set in from the outer body, usually by an inch or two, so that a foot or hand near the shell never meets a blade. That inboard gap is why a strip of grass along any hard edge stays untouched. On boundary-wire models the wire itself is pegged a set distance from walls and beds, which adds to the margin. So the fringe is the sum of the blade offset and the wire setback. Once you accept it is built in, the fix becomes about managing it, not eliminating it.
New to this? Start with our overview, How Robot Mowers Change Lawn Care for the Better, then come back here.
Step Two: Place the Boundary Wire to Minimize the Gap
If you run a wire model, smart placement shrinks the fringe. Follow the manufacturer's spacing, but along a flat mowable surface like a paver path or a mowing strip, you can often lay the wire so the mower drives partly over the edge. That lets the blades reach closer to the true boundary. Against a wall or fence you must keep the wire back far enough that the mower does not collide, typically a few inches, so the fringe there is unavoidable. Read the manual's distance chart before pegging, since getting the setback right on install saves a lot of hand trimming later.
Step Three: Use the Edge-Cut Mode If Your Model Has One
Some robot mowers include an edge-cut or border mode that runs the machine along the perimeter more tightly than normal mowing. It does not fully erase the fringe, because the blade offset still applies, but it narrows it and keeps the border neater between hand trims. Check your app or control panel for this setting; it is easy to overlook. Running an edge pass once or twice a week noticeably reduces how much manual work is left. If your model lacks the feature, that is a reason to lean on the other steps here rather than expecting the mower to solve it alone.
Step Four: Install a Mowing Strip Along Hard Borders
A permanent fix worth considering is a mowing strip: a flush row of pavers or a hard edging set level with the soil along beds and fences. With a wire model you route the boundary wire along the strip so the mower can drive with its wheels on the pavers and its blades overhanging the grass edge. This lets it cut right to the border on that side. It takes a weekend to install, but it turns the worst fringe areas into clean lines the robot maintains itself. For beds you re-edge often, it pays back the effort quickly.
Tools and Tactics for Crisp Robot-Mown Edges
- A cordless string trimmer for the weekly perimeter pass
- Battery shears for tight spots around posts and ornaments
- A half-moon edger to cut clean bed lines
- Flush paver mowing strips along fences and beds
- Correct boundary wire setback per the manual
- The mower's edge-cut or border mode if available
- Curved borders instead of tight square corners
- Removal of stray obstacles the mower must circle
- Hard edging set level so the mower overhangs the grass
- A quick weekly trim rather than an occasional big one
- Wire laid along a path so blades reach the true edge
- Wider beds that meet a mowable hard strip
Many readers move on to How Often Should a Robot Mower Run? next.
Step Five: Trim the Remaining Fringe Fast
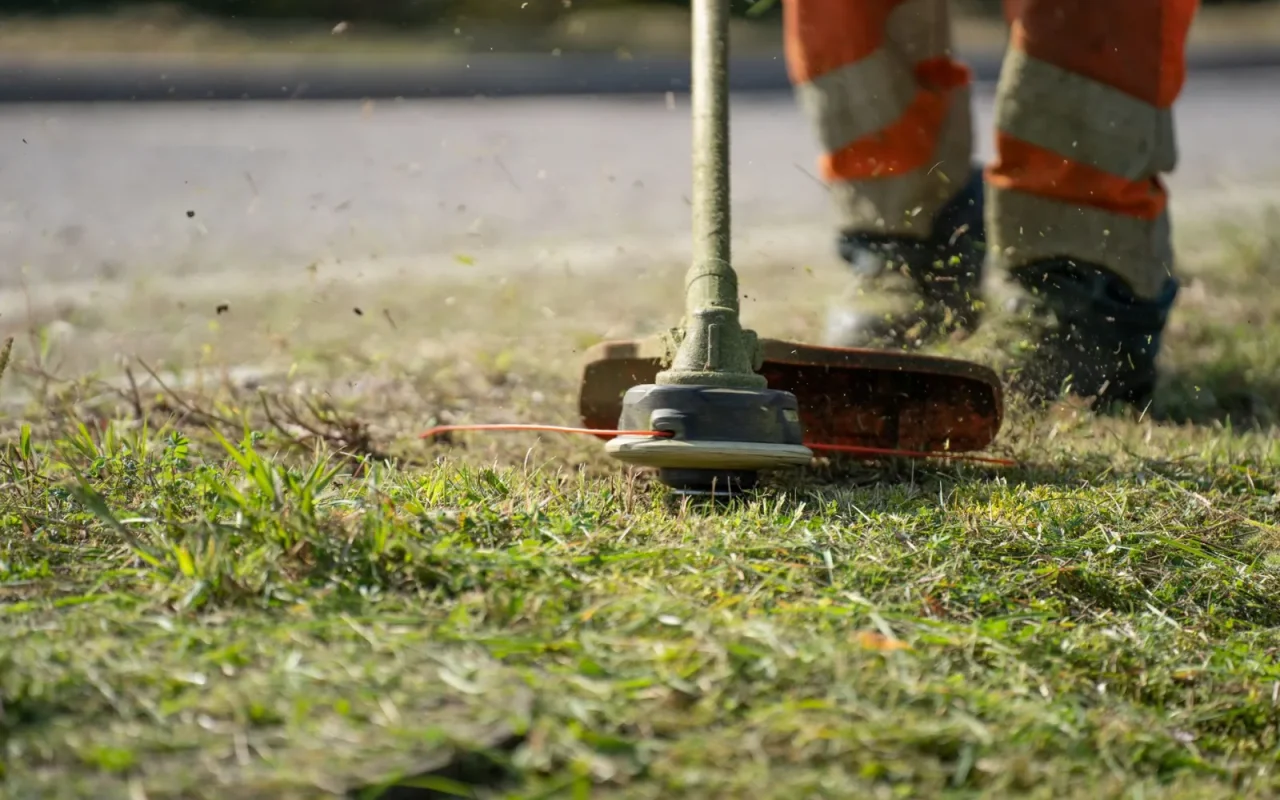
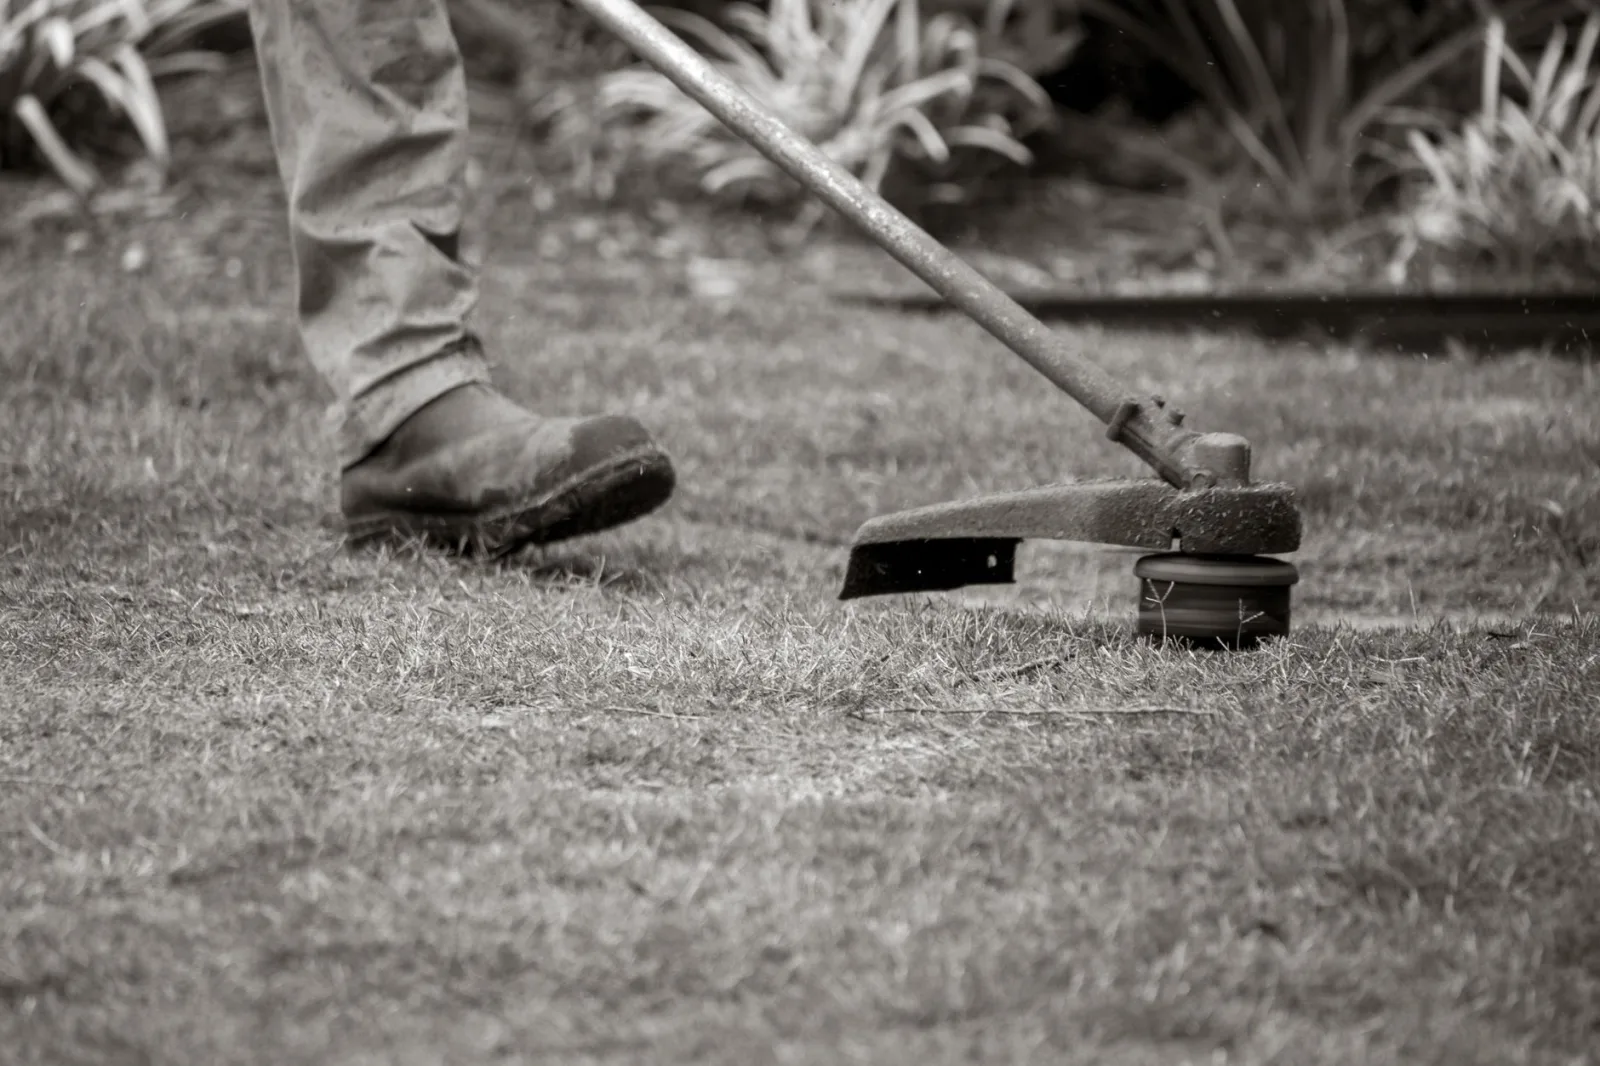
Whatever setup you choose, a little hand trimming stays part of the routine, and it is quicker than people fear. A cordless string trimmer runs the whole perimeter of a typical suburban lawn in five to ten minutes. Because the robot keeps the main lawn short daily, the fringe never grows long or ragged, so trimming is a light touch-up rather than a battle. I do mine once a week while the coffee brews. Battery shears or a manual edger work for tight spots around posts and ornaments where a trimmer is awkward to swing.

You can also dig into turfgrass science research from Purdue University for the wider science.
Step Six: Design the Lawn to Reduce Edges Over Time
The longer game is shaping the lawn so there is less edge to worry about. Gentle, curved borders are easier for a robot to follow closely than tight square corners, where the fringe collects most. Removing fiddly obstacles like a lone stepping stone in the turf eliminates a spot the mower must circle and leave shaggy. Widening a bed so it meets a mowing strip, or replacing a sharp inside corner with a sweep, all cut down the trimming you do by hand. Small landscaping tweaks make the robot look far tidier at the edges with no ongoing effort.
A final word
The fringe a robot mower leaves along your edges is not a defect; it is the price of blades that stay safely away from the shell. Once you know that, keeping borders crisp is easy. Set the boundary wire smartly, use edge-cut mode, add a mowing strip where it counts, and run a trimmer around the perimeter for a few minutes each week. Shape the lawn with gentle curves over time and even that shrinks. The robot handles the heavy daily work, and a light weekly touch-up along the edges is all it takes to keep the whole yard looking sharp.
We break down the next step in How Robot Mowers Choose Their Mowing Pattern.