A robot mower that will not charge is one of the more frustrating faults, because the machine looks fine and simply refuses to wake up. I have chased this exact problem on three different lawns, and the fix has never once been the scary answer of a dead battery. It has been a tripped outlet, a smear of grass on the metal contacts, or a dock the mower kept missing by an inch. The good news is that charging faults follow a logical chain. Work through it in order, from the wall to the battery, and you will usually find the break in under fifteen minutes.
Step 1: Confirm the Base Has Real Power
Start at the wall, not the mower. Unplug the charging base power supply and test the outlet with a lamp or phone charger to be sure it is live. Many homes run outdoor sockets through a GFCI outlet or a switch that trips in rain, so reset any tripped GFCI button and check the breaker panel. Confirm the power brick is fully seated at both ends and that the low-voltage cable running to the dock is not chewed, kinked, or unplugged. Some bases show a small light when powered. No light there usually means the problem is upstream of the mower entirely, which is the easiest kind to fix.
If you are just getting oriented, Robot Mower Troubleshooting: Fix Common Problems is the best place to begin.
Step 2: Clean the Charging Contacts
Dirty contacts are the single most common cause of a mower that docks but never charges. Look at the metal charging strips or pins on both the mower and the dock. Grass juice, dust, and oxidation build a thin insulating film that blocks the connection. Power down the mower, then wipe both sets of contacts with a dry cloth, and for stubborn corrosion use a little fine sandpaper or a pencil eraser followed by a wipe. Never use water or spray directly on the contacts. Once they gleam, set the mower back on the dock and watch for a charging light within a minute.
Step 3: Check How the Mower Docks
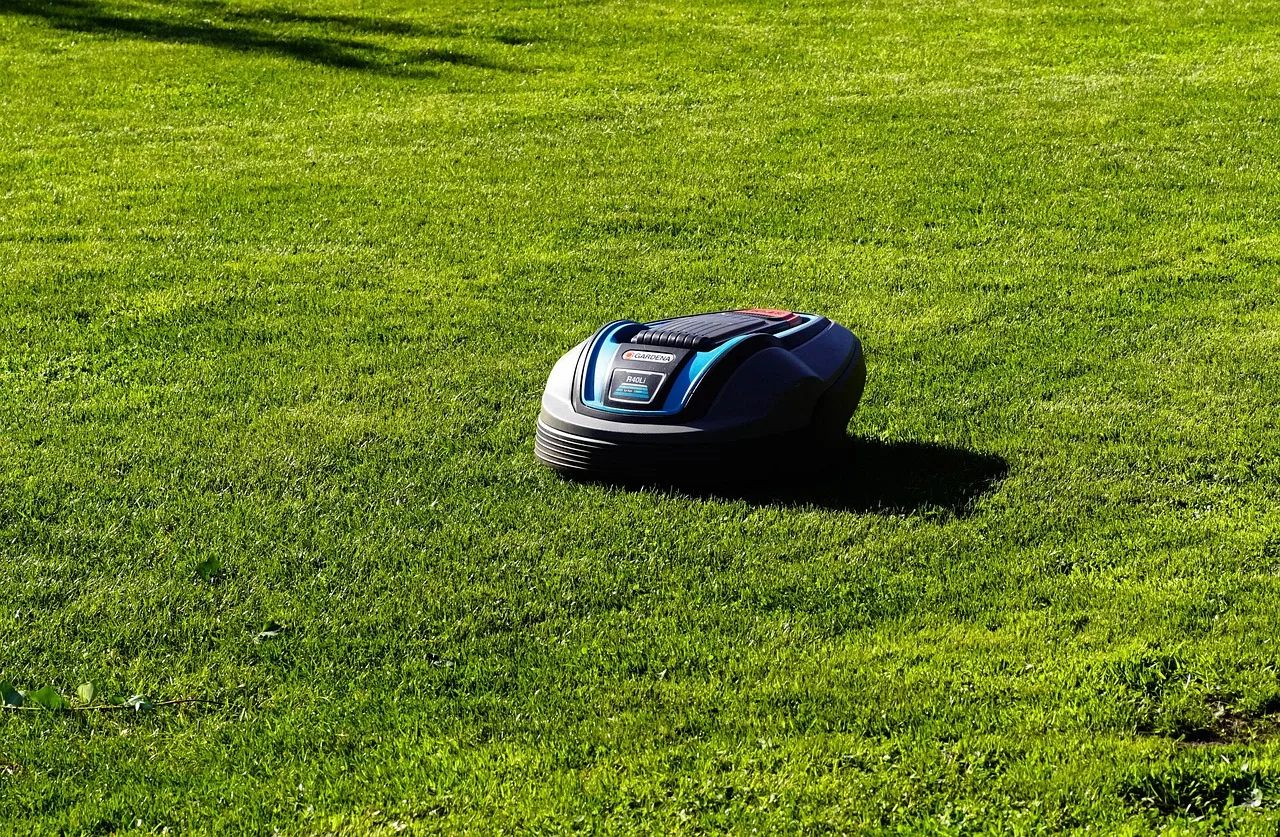
A mower can look docked yet sit a fraction too far back to make contact. Watch it drive in, or place it on the dock by hand and confirm the contacts actually meet with light pressure. Clear any twigs, mulch, or high grass in front of the base that could stop it short. If it drives in crooked and bounces off, the approach path or guide wire may need adjusting, and the dock should sit on flat, firm ground. Boundary-wire models find the base by following the perimeter or a guide wire, so a docking miss can trace back to a wiring issue rather than the charger.
Step 4: Rule Out a Cold or Sleeping Battery
Temperature matters more than people expect. Lithium-ion batteries often refuse to charge below freezing to protect themselves, so a mower parked in a cold shed in early spring may simply need to warm up indoors first. A pack that was stored empty over winter can also fall into a deep sleep where it accepts current very slowly at first, then recovers over a long charge. Give it a few hours before declaring it dead. If the mower gets warm, shows a charging light, but the run time is far shorter than it used to be, the battery is aging rather than failing outright.
Charging Fix Checklist in Order
- Test the outlet with a lamp or phone charger
- Reset any tripped GFCI button or breaker
- Confirm the power brick is seated at both ends
- Inspect the low-voltage cable for cuts or kinks
- Wipe the mower and dock contacts with a dry cloth
- Remove corrosion with fine sandpaper or an eraser
- Clear grass and twigs from in front of the base
- Watch the mower dock and confirm contacts meet
- Warm a cold battery indoors before charging
- Allow a deeply drained pack a long slow charge
- Power cycle the mower and install firmware updates
- Check the app confirms charging, not just docked
If you want to go deeper, our guide to Why Your Robot Mower Gets Lost and How to Fix It covers the details.
Step 5: Restart, Update, and Reseat
If power, contacts, docking, and temperature all check out, treat the software next. Power the mower fully off, wait a minute, and switch it back on before trying the dock again. Open the app and install any pending firmware update, since charging logic and battery management are handled in software that occasionally needs a patch. Reseat the mower on the base one more time and confirm the app reports charging, not just docked. A clean power cycle clears more stuck charging states than any other single step, and it costs you nothing but a couple of minutes.

You can also dig into lithium-ion battery basics for the wider science.
When It Is Time to Call for Service
Some charging faults are genuine hardware failures, and pushing past them risks harm. Stop and contact the seller or an authorized service center if you see a swollen or leaking battery, smell burning, or find scorched contacts. A dock that trips your breaker every time it powers on points to a fault in the base or its power supply, not something to keep resetting. Batteries are wear items and typically last several seasons; a very old pack that no longer holds charge is a replacement, not a repair. Always follow your model's manual, and never open a sealed battery yourself.
Bringing it together
A robot mower that will not charge feels like a big problem and almost always turns out to be a small one. Walk the chain from the wall outlet to the contacts to the docking to the battery, and you will catch the break long before you reach anything that needs a technician. Keep the contacts clean as a habit, mind cold weather in early spring, and give a tired winter battery time to recover. Save the service call for heat, smells, swelling, or a breaker that keeps tripping. Handle it in that order and your mower is usually back on its dock the same afternoon.
It helps to read this alongside Robot Mower Blade Not Spinning: Causes and Fixes.