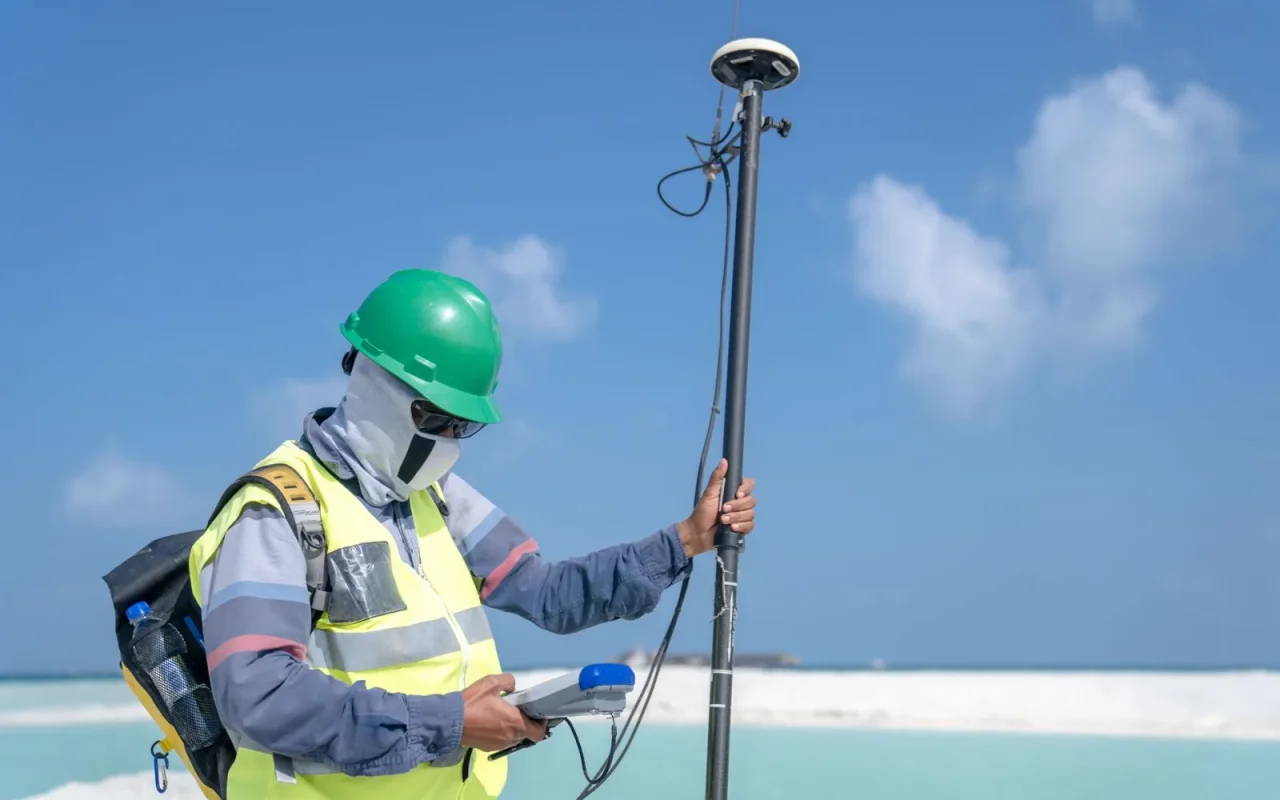
The appeal of a wire-free GPS mower is obvious the moment you skip the spool of boundary wire entirely. No pegs, no trenching, no wire to slice with an aerator next spring. Instead you plant a small reference antenna, walk your lawn once with your phone, and draw the boundaries as lines on a map. When it works, it feels like magic. When it goes sideways, the culprit is almost always the sky view or the antenna position, not the mower. Here is the order I follow to get a clean map and a mower that stays where it belongs from the first run.
Understand How RTK GPS Keeps It Accurate
Plain GPS on a phone drifts by several feet, which is useless when your lawn ends inches from a flower bed. Wire-free mowers solve this with RTK GPS, which pairs the mower's receiver with a fixed reference antenna, often called a base station, mounted on your property. The antenna knows exactly where it sits, so it corrects the mower's position down to a few centimeters in real time. The catch is that both the antenna and the mower need a fairly open view of the sky. Grasp that dependency early and every later decision about placement makes sense.
For the bigger picture, our main guide How to Install a Robot Lawn Mower Step by Step sets the scene.
Mount the Reference Antenna for a Clear Sky View
The antenna is the heart of the system, so give it the best sky view you can. Mount it high and out in the open, on a roof edge, a wall bracket, or the supplied pole, well clear of dense tree canopy, tall walls, and metal that could reflect the signal. It needs a stable, permanent position, since moving it later can force a remap. Follow the mounting height in the manual and keep it away from other big antennas. A poorly sited antenna is the number one reason these mowers wander or lose accuracy, so do not rush this.

Power Up and Pair Everything in the App
With the antenna mounted, connect it to power and to the dock or hub as the manual directs, then download the manufacturer app and create an account. Pair the mower over Bluetooth or Wi-Fi following the on-screen flow, and let the antenna establish its fixed position, which can take several minutes as it locks onto enough satellites. Connect the mower to your home Wi-Fi so it can pull firmware and send alerts. Wait for the app to show a strong satellite fix before you try to map anything, because mapping on a weak signal bakes errors into your boundaries.
Walk the Boundary to Draw the Map
This is the step that replaces laying wire. With a solid fix, you push the mower or drive it slowly in a manual mode around the entire perimeter while the app records your path as a virtual boundary. Walk at a steady pace and hug the true edge, keeping a small consistent buffer from beds and hard edges just as you would with wire. Take corners deliberately. When you finish the loop, the app shows the enclosed mowing area, which you can nudge and fine-tune on screen afterward to tidy any spots where your walking line wobbled.
Wire-Free GPS Setup Steps
- Confirm your lawn has a reasonably open sky view
- Choose a high, open, permanent antenna position
- Mount the reference antenna clear of trees and metal
- Connect the antenna to power and the dock or hub
- Download the app and create your account
- Pair the mower over Bluetooth or Wi-Fi
- Wait for a strong satellite fix before mapping
- Walk the full perimeter to record the boundary
- Fine-tune the boundary line on the app map
- Draw no-go zones around ponds, beds, and play areas
- Define passages between separate lawn zones
- Run a supervised first cut and refine the map
We break down the next step in How to Install a Guide Wire for Faster Charging.
Add No-Go Zones, Channels, and Extra Areas
Once the outer boundary exists, use the app to carve out no-go zones around ponds, trees, play sets, and delicate beds by drawing an exclusion right on the map. If your lawn splits into sections joined by a narrow strip, define that strip as a passage or channel so the mower knows how to travel between them. Many GPS models let you save several distinct zones and even set different cutting heights per zone. Spend time here, since a thoughtful map with clear no-go areas prevents most of the trouble owners later blame on the mower.

You can also dig into how RTK satellite positioning works for the wider science.
Run a Supervised First Cut and Refine
Send the mower out with you watching the full first cut, exactly as you would with a wire model. Follow it around and watch the boundaries closely, especially near beds and drop-offs, since a GPS edge is invisible and you are trusting the map. Note any place it strays, hesitates in a shady patch, or loses signal under a tree, and adjust the map or antenna as needed. Areas with heavy overhead cover may need a small buffer or a no-go zone. A little refinement in the first few runs gives you a mower that stays honest all season.
What to do next
Setting up a wire-free GPS mower moves the effort off your knees and onto a phone screen, but the principle stays the same: define where the mower may go, then prove it with a watched first cut. The antenna's sky view carries the whole system, so treat its placement as the real job and the app mapping as the easy part. Draw honest boundaries, add sensible no-go zones, and refine over the first few runs. Do that on an open lawn and a GPS mower delivers the tidiest, least fiddly setup in the category, with no wire waiting to be cut next spring.
Our companion piece, The Tools You Need to Install a Robot Mower, picks up where this leaves off.