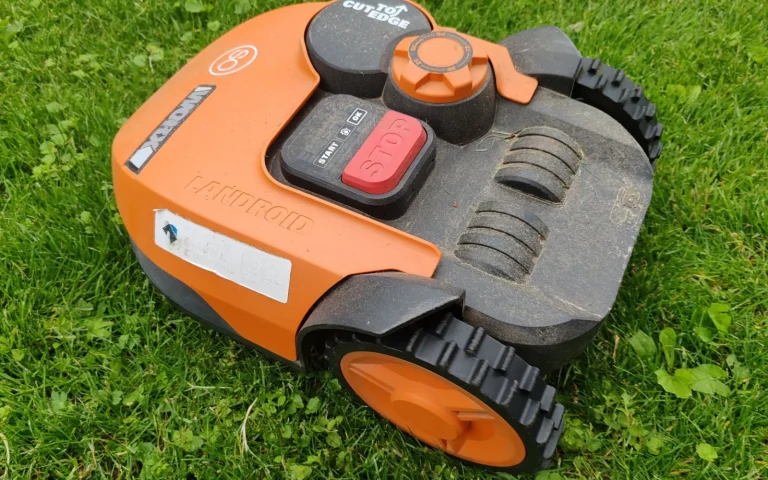
The mower would not leave the dock, and the app flashed a loop error. My first thought was dread, because a boundary wire snakes hundreds of feet around a yard and a single break anywhere kills the whole loop. Where do you even start looking? As it turned out, the culprit was a spot I had jabbed with a garden fork two days earlier, right where I planted bulbs. Finding it took twenty minutes with a trick I will share below. The splice took five. If your boundary-wire mower has gone silent with a wire fault, do not dig up the whole perimeter. Work smart, not hard.
Step One: Confirm It Really Is a Wire Break
Before you go hunting, make sure the wire is the actual problem. A boundary or loop error on the display or in the app is the classic sign, and it usually means the perimeter loop is no longer complete. Check the charging base first, since a mower that thinks the wire is broken sometimes just lost the connection at the base terminals. Confirm the base has power and that both wire ends are seated firmly in their terminals. Look at the base indicator light, because many show a solid color for a healthy loop and a blinking or off light for a break. Rule out a loose terminal before you assume a cut somewhere out in the grass.
New to this? Start with our overview, Robot Mower Troubleshooting: Fix Common Problems, then come back here.
Step Two: Check the Obvious Suspect Spots First
Breaks are not random. They cluster where the ground gets disturbed, so start there and you will often skip the whole search. Think back to recent yard work: any digging, edging, aerating, or planting near the wire line? A spade, a fork, or a powered edger slices a pegged wire in a heartbeat. Frost heave over winter and heavy scarifying can also pull a joint apart. Walk the perimeter and eyeball spots where the wire crosses a flower bed edge, a path, or a gate, since these see the most traffic. Look for a lifted peg, a nicked cable, or a spot where an old splice has corroded and let go. The obvious suspect is guilty more often than not.
Step Three: Split the Loop to Halve the Search
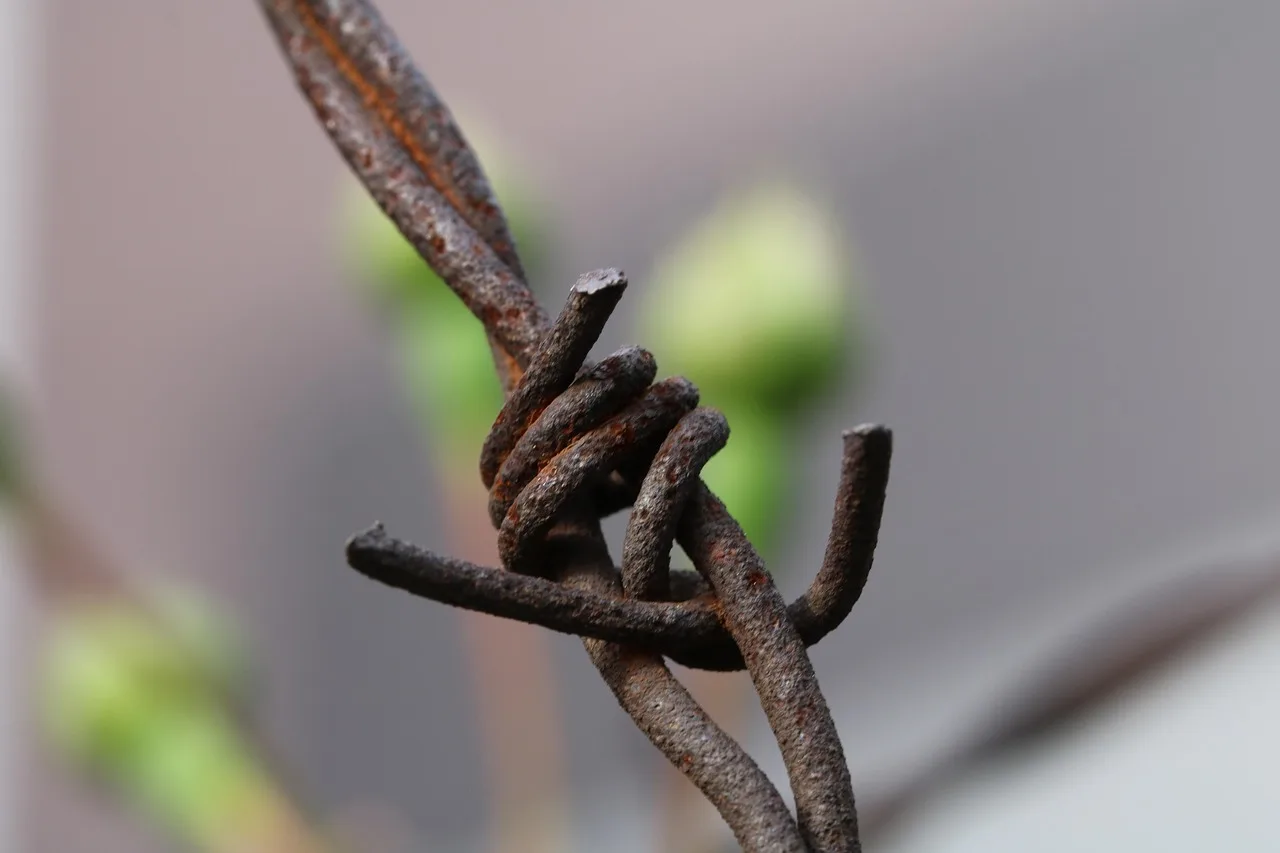
When the break hides, use a divide-and-conquer trick that saves serious time. Find the midpoint of your loop and temporarily disconnect the wire there, then connect one half back to the base as a shorter test loop, following your manual for the base terminal setup. If the base light goes healthy, the break is in the other half, so you just eliminated half the yard. Repeat on the bad half, splitting it again. Two or three splits usually narrow a break to a short stretch you can inspect closely. A wire break detector or a portable AM radio held near the wire can also help, since the signal changes near a cut.
Step Four: Expose and Inspect the Suspect Stretch
Once you have a short run to check, get down and look closely. For pegged wire, lift the pegs gently and follow the cable, feeling for a nick, a crushed spot, or a clean cut. For buried wire, this is harder, so use your splitting results to dig only a small trench where the break must be. Grass roots and soil hide a lot, so run the wire through your fingers. Rodents occasionally chew cable, edgers slice it, and old connectors corrode and fail. When you find the damage, clear a hand-width of space around it so you have room to work and can see both clean ends of the wire clearly before you join them.
What You Need to Find and Fix a Wire Break
- The base station indicator light for a quick loop check
- A record of any recent digging, edging, or planting
- Waterproof gel-filled connectors that match your kit
- A short length of spare boundary wire
- Wire strippers or a small utility knife if needed
- A wire break detector or a portable AM radio
- A screwdriver to open and check base terminals
- New pegs to re-secure the repaired section
- A small hand trowel for buried-wire spots
- Gloves for handling wire and pegs
- A marker or flags to note the wire route near beds
- The official manual for your model's base wiring
It helps to read this alongside Robot Mower Wheels Slipping on Wet Grass.
Step Five: Splice It With a Waterproof Connector
Do not just twist the ends together and tape them. A twist-and-tape joint corrodes within weeks underground and fails again, sending you right back to a loop error. Use the proper waterproof gel-filled connectors that came with your kit, or buy the matching type. These clamp both wire ends and seal the joint against moisture. Strip only if the connector requires it, insert both ends fully, and press the clamp closed until it clicks. Give the joint a gentle tug to confirm it holds. Then re-peg or rebury the repaired section flush with the ground so the mower and your tools do not catch it later. A clean waterproof splice can outlast the rest of the wire.

You can also dig into the fundamentals of robotic mowers for the wider science.
Step Six: Test, Bury, and Prevent the Next Break
With the splice done, reconnect any test sections and check that the base indicator returns to its healthy state. Send the mower out and watch it complete a lap to confirm the loop reads as whole. Once you trust the repair, peg or rebury the wire properly along that stretch. To dodge the next break, mark where the wire runs near beds and paths, so future digging avoids it. Consider burying shallow wire a few inches down in high-traffic zones where edgers and forks roam. Keep a couple of spare waterproof connectors and a few feet of matching wire in the shed, because the next nick will come, and a stocked kit turns a lost weekend into a quick fix.
The takeaway
A loop error feels like a disaster and turns out to be a twenty-minute job once you know the moves. The wire almost always fails where you recently disturbed the ground, so start with the obvious suspects and let the divide-and-conquer split do the rest of the hunting. When you find the cut, resist the urge to twist and tape it. A proper waterproof connector is the difference between fixing it once and chasing the same fault every wet month. Mark the wire route, keep a few spare connectors in the shed, and the next break will barely dent your afternoon.
This connects neatly with Robot Mower Blade Not Spinning: Causes and Fixes.