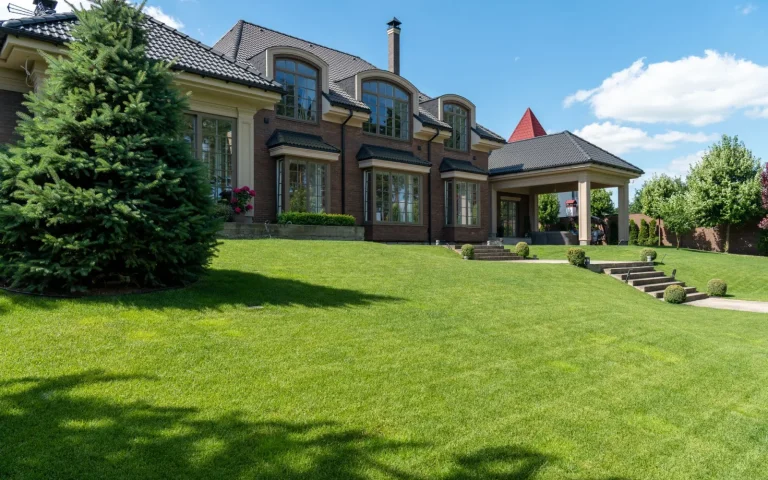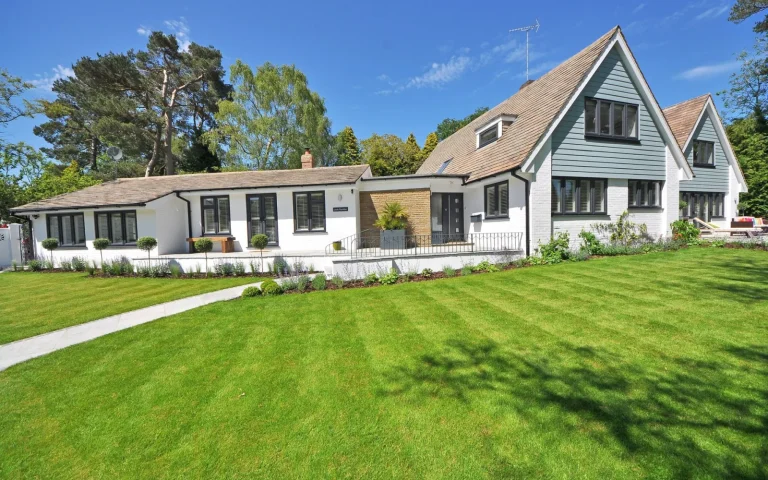
Most yards are not one tidy rectangle. Mine is a front lawn, a fenced back garden, and a skinny strip along the side that connects them by a gate. The day I got my mower, I assumed it would just figure this out. It did not. A robot mower treats separated grass as distinct zones, and it only reaches each one if you set it up to. Done right, a single machine keeps three or four areas trim on a rolling schedule. Done wrong, one zone thrives while another turns into a meadow. Here is how to get every patch on the rota.
Step 1: Map Every Separate Grass Area
Before touching a wire or an app, walk the property and sketch each distinct patch of grass. Note how they connect: a gate, a mulched path, a gap in a hedge, or nothing at all. Measure the rough square footage of each so you can balance run time later. This map is the backbone of the whole setup. A front lawn joined to the back by a three-foot side passage is one connected zone with a corridor, while a lawn on the far side of a driveway with no grass link is a truly separate island the mower cannot drive to on its own.
New to this? Start with our overview, How to Install a Robot Lawn Mower Step by Step, then come back here.
Step 2: Link Zones With a Wire Corridor
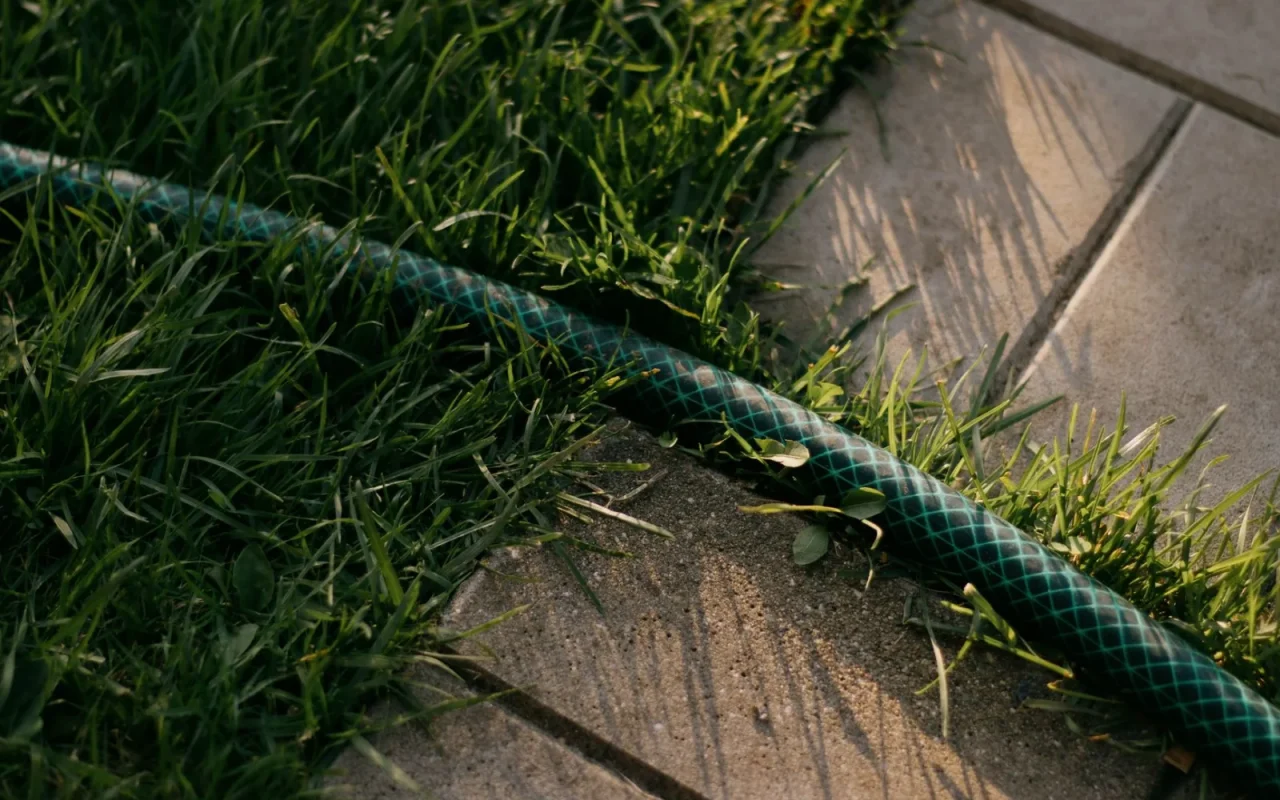
On boundary-wire mowers, connected areas are joined by running two parallel wires down the passage, spaced only a few inches apart so their signals cancel and the mower drives between them like a lane. This corridor lets the machine cross from the front lawn to the back through a gate or narrow strip. Keep the passage clear and at least a couple of feet wide so the mower fits without scraping. Program the mower to enter the far zone at a set point along the wire, which spreads wear and stops it hammering one entry spot into a bald patch.

Step 3: Set Zone Sizes and Start Points
In the app or on the mower, assign each zone a proportion of the total mowing time based on the square footage you measured. A back lawn twice the size of the front should get roughly twice the minutes. Then set distinct start points so the mower begins each zone at a different spot along the perimeter, avoiding tracks worn into the turf. Most wire models let you define several start points as percentages around the loop. Spreading these out is the single best habit for even coverage across separated areas over a full week.
Step 4: Create Zones on a GPS Mower
Wire-free GPS and RTK mowers handle multiple zones differently and often more flexibly. You drive or walk the machine around each area once in a mapping mode, then name and save each zone in the app. Some models let you set individual schedules, cutting heights, and even different mowing directions per zone. Because there is no physical corridor, a GPS mower may need you to carry it between islands it cannot reach across pavement, or you define a transport route it can drive. Check that each zone has an open enough sky view for the GPS to hold a lock.
Multi-Zone Setup Checklist
- Sketch and measure every separate grass area
- Identify which zones connect and which are true islands
- Run parallel corridor wires for linked wire-mower zones
- Keep passages at least two feet wide and obstacle-free
- Assign mowing minutes in proportion to each zone's size
- Set multiple start points to prevent worn tracks
- Map and name each zone in the app on GPS models
- Give shady, slow-growing zones less run time
- Plan a manual carry route for unreachable islands
- Confirm GPS zones have a clear enough sky view
- Run a full week, then rebalance the schedule
- Recheck corridor width after grass fills in
If you want to go deeper, our guide to Your Robot Mower's First Run: What to Do covers the details.
Step 5: Handle Islands the Mower Cannot Reach
Some patches simply have no grass path connecting them, like a lawn across a wide driveway. For a wire mower, the usual fix is a separate secondary loop with its own start setup, and you move the mower to that loop manually when it needs cutting. For a GPS mower, you carry it to the island and start that saved zone. It is not fully automatic, but a two-minute lift once or twice a week beats owning two machines. Keep the transport simple, since a mower is heavier than it looks after a long cut.
If you like to read around a topic, see the basics of robotic mower navigation.
Step 6: Test, Watch, and Rebalance
Run the full schedule for a week and then actually watch what happens. You will spot a zone that finishes early with time to spare, or one that never quite gets done before the mower heads home to charge. Nudge the time allocations, shift start points that are wearing tracks, and widen any corridor the mower brushes against. Growth is not uniform either: a shady back lawn grows slower than a sunny front, so it may need fewer minutes. A short tuning period turns an uneven setup into one that quietly keeps every zone level.
The takeaway
One mower can absolutely keep a front, back, and side lawn all looking cared for, but only after you teach it the shape of your yard. Map the areas, connect what you can with corridors or saved routes, split the run time by size, and vary the start points so nothing wears thin. Then watch a full week and tune. The reward is a machine that quietly circulates through every patch on its own, and the only manual job left is carrying it to a stranded island now and then. Set it up with care once and the whole property stays even.
If you want to go deeper, our guide to How Far to Keep Boundary Wire From Obstacles covers the details.