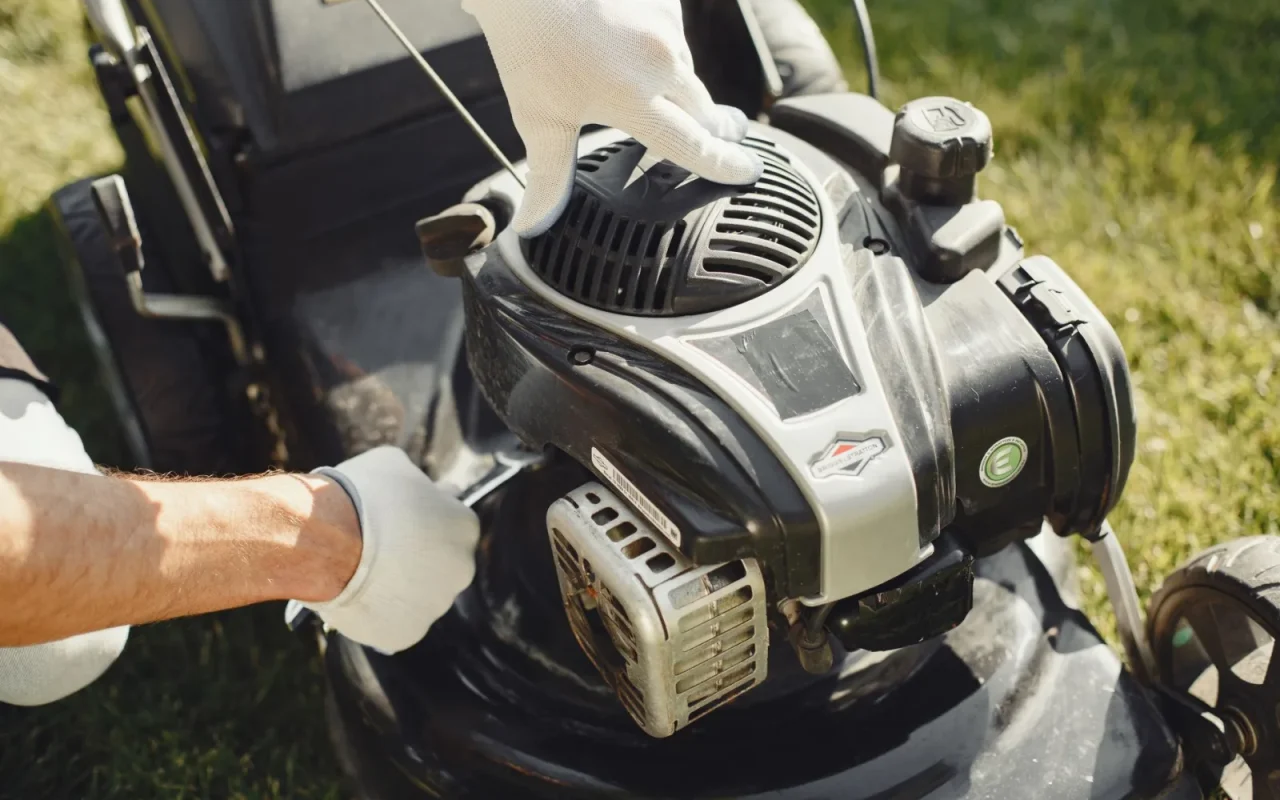
After a few seasons of owning these machines, I stopped troubleshooting by instinct and started working from a list taped inside the shed door. The reason is simple: when the mower is blinking red and you are late for work, memory fails you. A checklist does not. It forces you to rule out the cheap, common causes before you convince yourself the motor is dead. What follows is that list, grouped by system so you can jump straight to the area matching your symptom. Run the group that fits, tick as you go, and most faults surface within a few minutes of calm, ordered checking.
Read the Symptom Before You Touch Anything
Every good checklist starts with observation, not action. Note exactly what the mower is doing: where it stopped, what the status light or screen shows, and what the app says in plain words. A steady green usually means healthy, while a blinking red or amber flags a fault, and an error code narrows it further. Record whether it froze on the lawn, at an obstacle, or on the dock, because location is half the diagnosis. Write down the exact wording of any alert. This thirty-second habit stops you from stripping the deck when the app is quietly telling you the boundary wire is broken.
For the bigger picture, our main guide Robot Mower Troubleshooting: Fix Common Problems sets the scene.
Power and Charging Checks
When the mower is dead or will not charge, work from the wall inward. Confirm the outlet is live by testing another device, and reset any tripped GFCI or breaker on outdoor circuits. Check the power brick and the low-voltage cable to the dock for damage or a loose connection. Then look at the metal charging contacts on both mower and base, wiping off grass film or corrosion that blocks the current. Remember that a lithium-ion battery may refuse to charge in freezing temperatures and needs to warm first. Group these checks together, because a charging fault almost never lives in the battery on the first try.

Docking and Boundary Checks
If the mower leaves fine but never gets home, or wanders where it should not, look at guidance. On boundary-wire models, a single break anywhere silences the whole loop, usually shown as a wire or loop error, so inspect the perimeter for cuts near diggings or frost heave. Confirm the mower docks squarely and that the contacts actually meet, clearing twigs or long grass in front of the base. On wire-free GPS or RTK models, check the reference antenna has not been bumped and that the sky view is open enough, since trees and tall walls weaken the signal and leave the mower lost.
Cutting and Movement Checks
For poor cut quality or a mower that keeps stranding itself, this group finds it. Inspect the blades for dullness, cracks, or a jam, and remember small razor blades want replacing roughly every 6-8 weeks in season for a few dollars a set. Clear packed clippings from under the deck. Check the wheels for wet-grass slip and clean the treads, and shift the schedule to drier hours if mornings are the problem. Look for ruts, roots, or narrow gaps at the exact spot where it gets stuck. Confirm the cutting height is not set so low it scalps or bogs down in thick grass.
The Grab-and-Go Troubleshooting Checklist
- Read the app, status light, and where the mower stopped
- Confirm the outlet is live and reset any tripped GFCI
- Inspect the power brick and low-voltage cable for damage
- Wipe the charging contacts on the mower and the dock
- Let a cold battery warm before deciding it will not charge
- Check the boundary wire for a break near recent diggings
- Confirm the mower docks square and the contacts meet
- Verify the reference antenna and sky view on GPS models
- Inspect and replace dull or cracked blades as needed
- Clear clippings from the deck and clean the wheel treads
- Wipe the lift, tilt, and bump sensors and test a lift stop
- Reconnect the app, update firmware, then power cycle the mower
For a closer look, see Robot Mower Making Strange Noises? What to Check.
Sensor and Weather Checks
A dirty sensor behaves exactly like a fault, so this group clears a lot of phantom stops. Wipe the lift, tilt, and bump sensors and the underside, since packed mud can make the mower think it is being lifted and quit early. Free any floating body panel jammed by a stone, which causes endless reversing in circles. Confirm a lifted mower stops its blades instantly, a safety check you should never skip. Remember that rain sensors pause mowing on purpose, so a machine heading home in drizzle is working as designed. Match cold, heat, or wet weather to the behavior before assuming hardware failure.
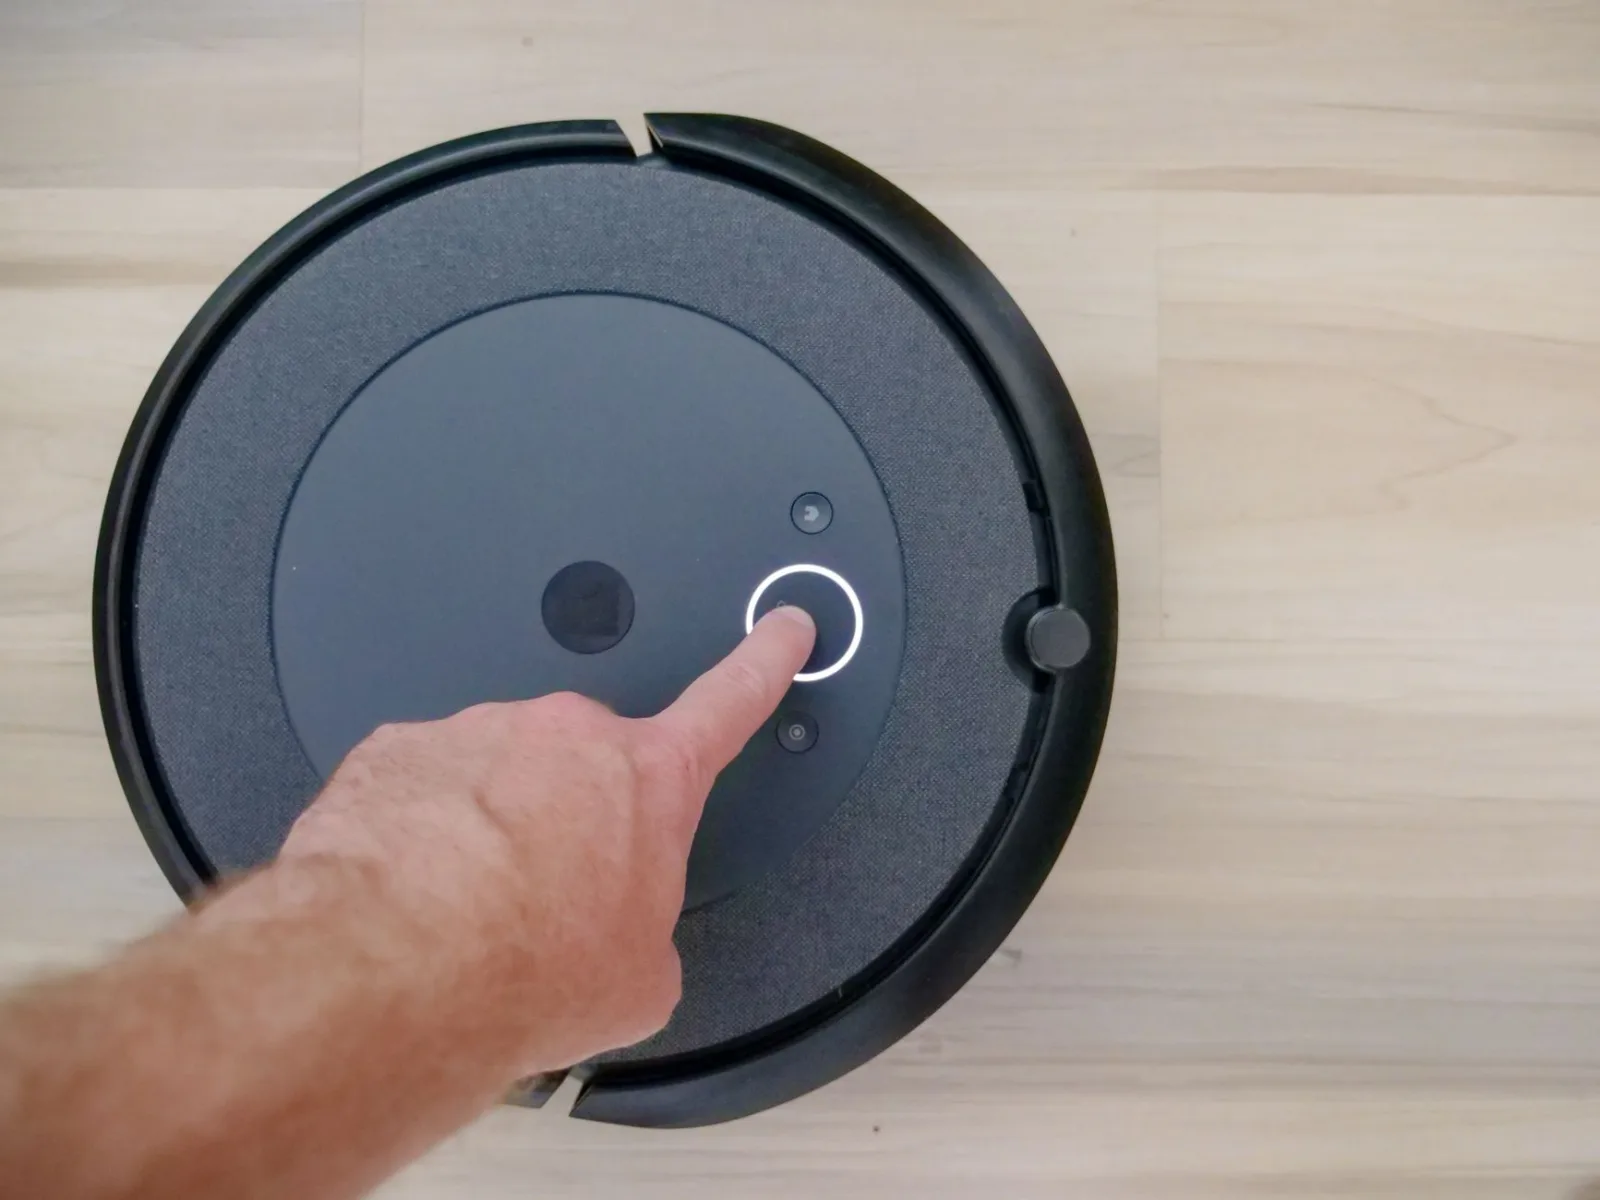
It is worth skimming lithium-ion battery basics for extra context.
App, Software, and Reset Checks
Save the software group for last, once the physical checks pass. Reconnect the app and confirm the mower is online, since a dropped WiFi or app link explains many missed schedules. Install any pending firmware update, which quietly fixes odd scheduling and sensor bugs. Verify the schedule, zones, and no-go areas have not changed by accident. Then power the mower fully off, wait a minute, and restart it, because a clean power cycle clears more stuck states than any single fix. Hold a factory reset in reserve, as it usually wipes your map and settings, and note them first so you can rebuild fast.
One last thing
A troubleshooting checklist turns a blinking red light from a small crisis into a routine. Read the symptom first, then run the group that matches, working from the cheap and common toward the rare and serious. Power, contacts, blades, and a wipe of the sensors fix the large majority of faults, and a power cycle clears most of the rest. Pin the list where you dock the mower, tick it down when something goes wrong, and keep the manual close for the brand-specific details. Do that, and the machine spends far more time cutting grass than sitting on your workbench.
If you want to go deeper, our guide to Robot Mower Not Charging? Here's How to Fix It covers the details.